This is my 1st rebuild. Learned a lot and hopefully the next will be even better. one thing to consider is most of the playfield is not the original color, had some issues with color matching as I am partially color blind and what I thought was the right color wasn’t. It was pointed out a little late, I’m keeping this so doesn’t bother me. And if I get rid of it later I’ll deal with the backlash then if it comes up.
Original Shape when I got it back to the house.


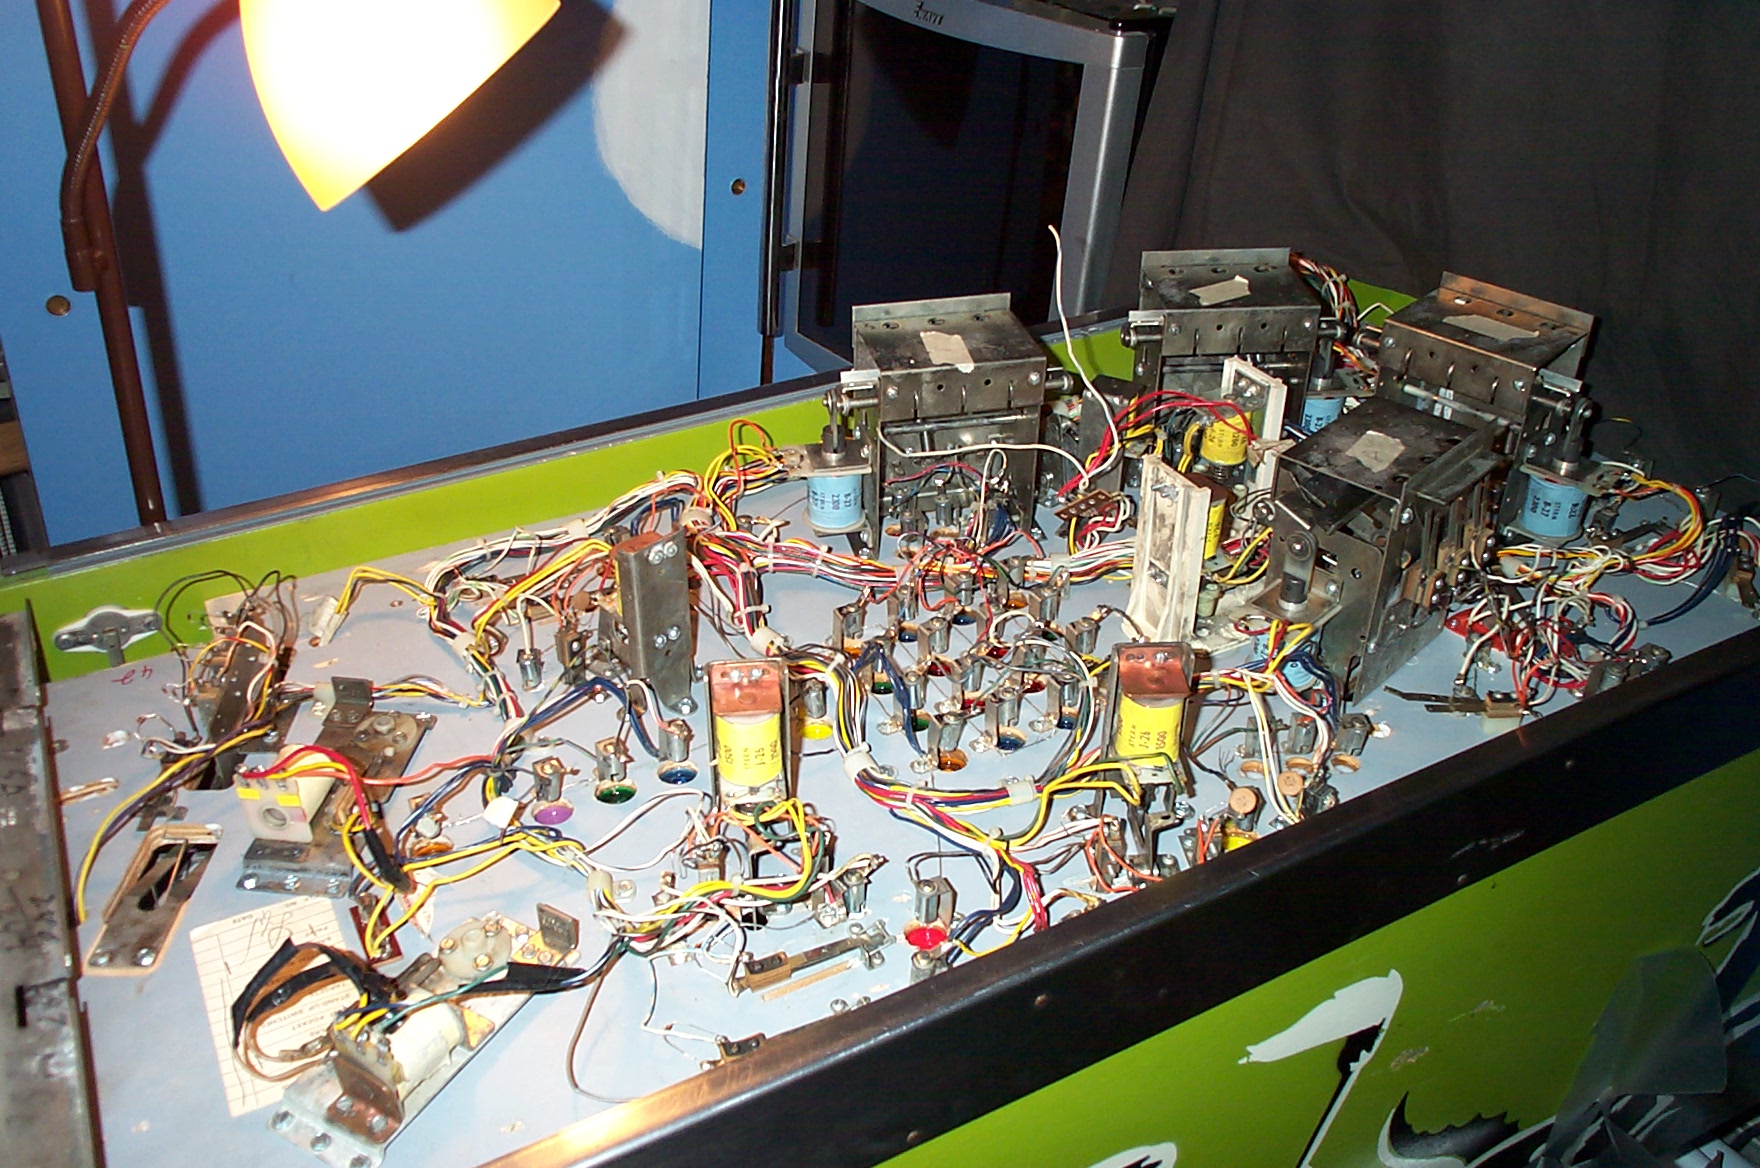
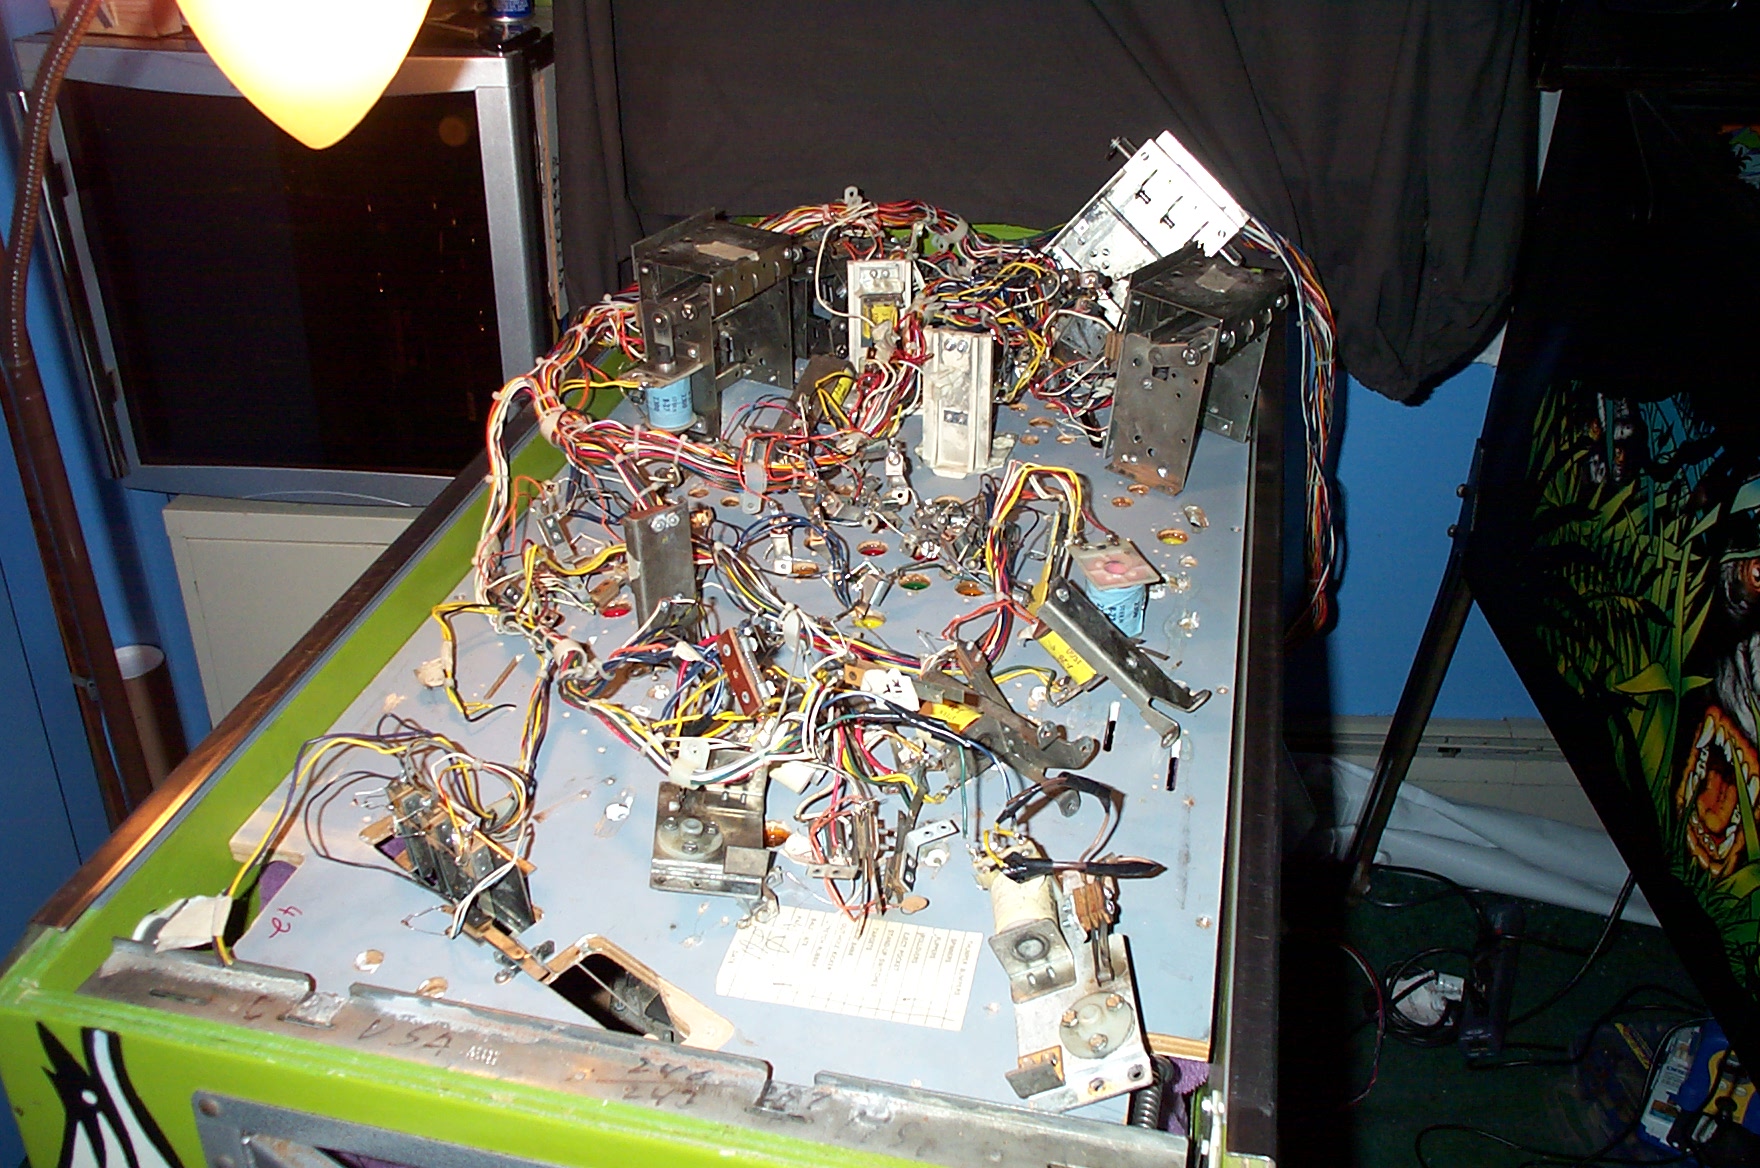
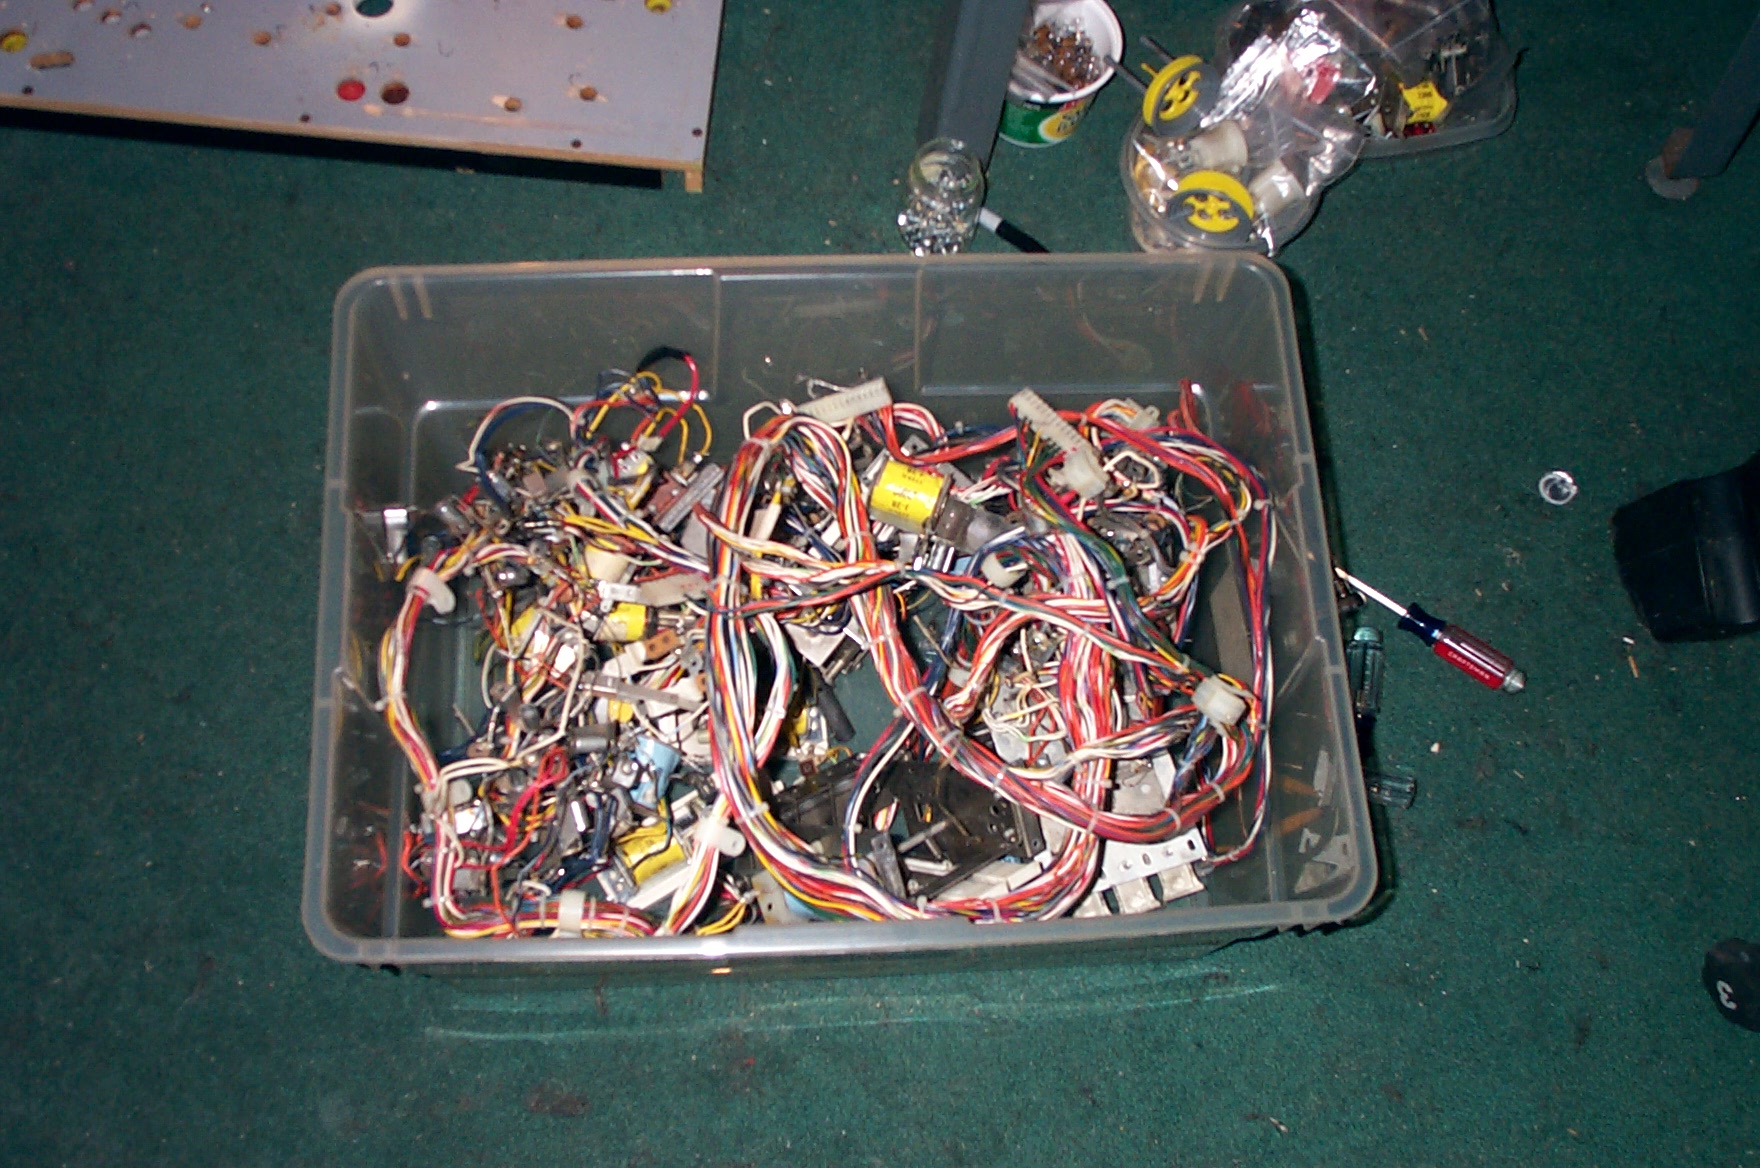
And now the tear down. at this point the Wife placed a bet on whether or not it would come back together.

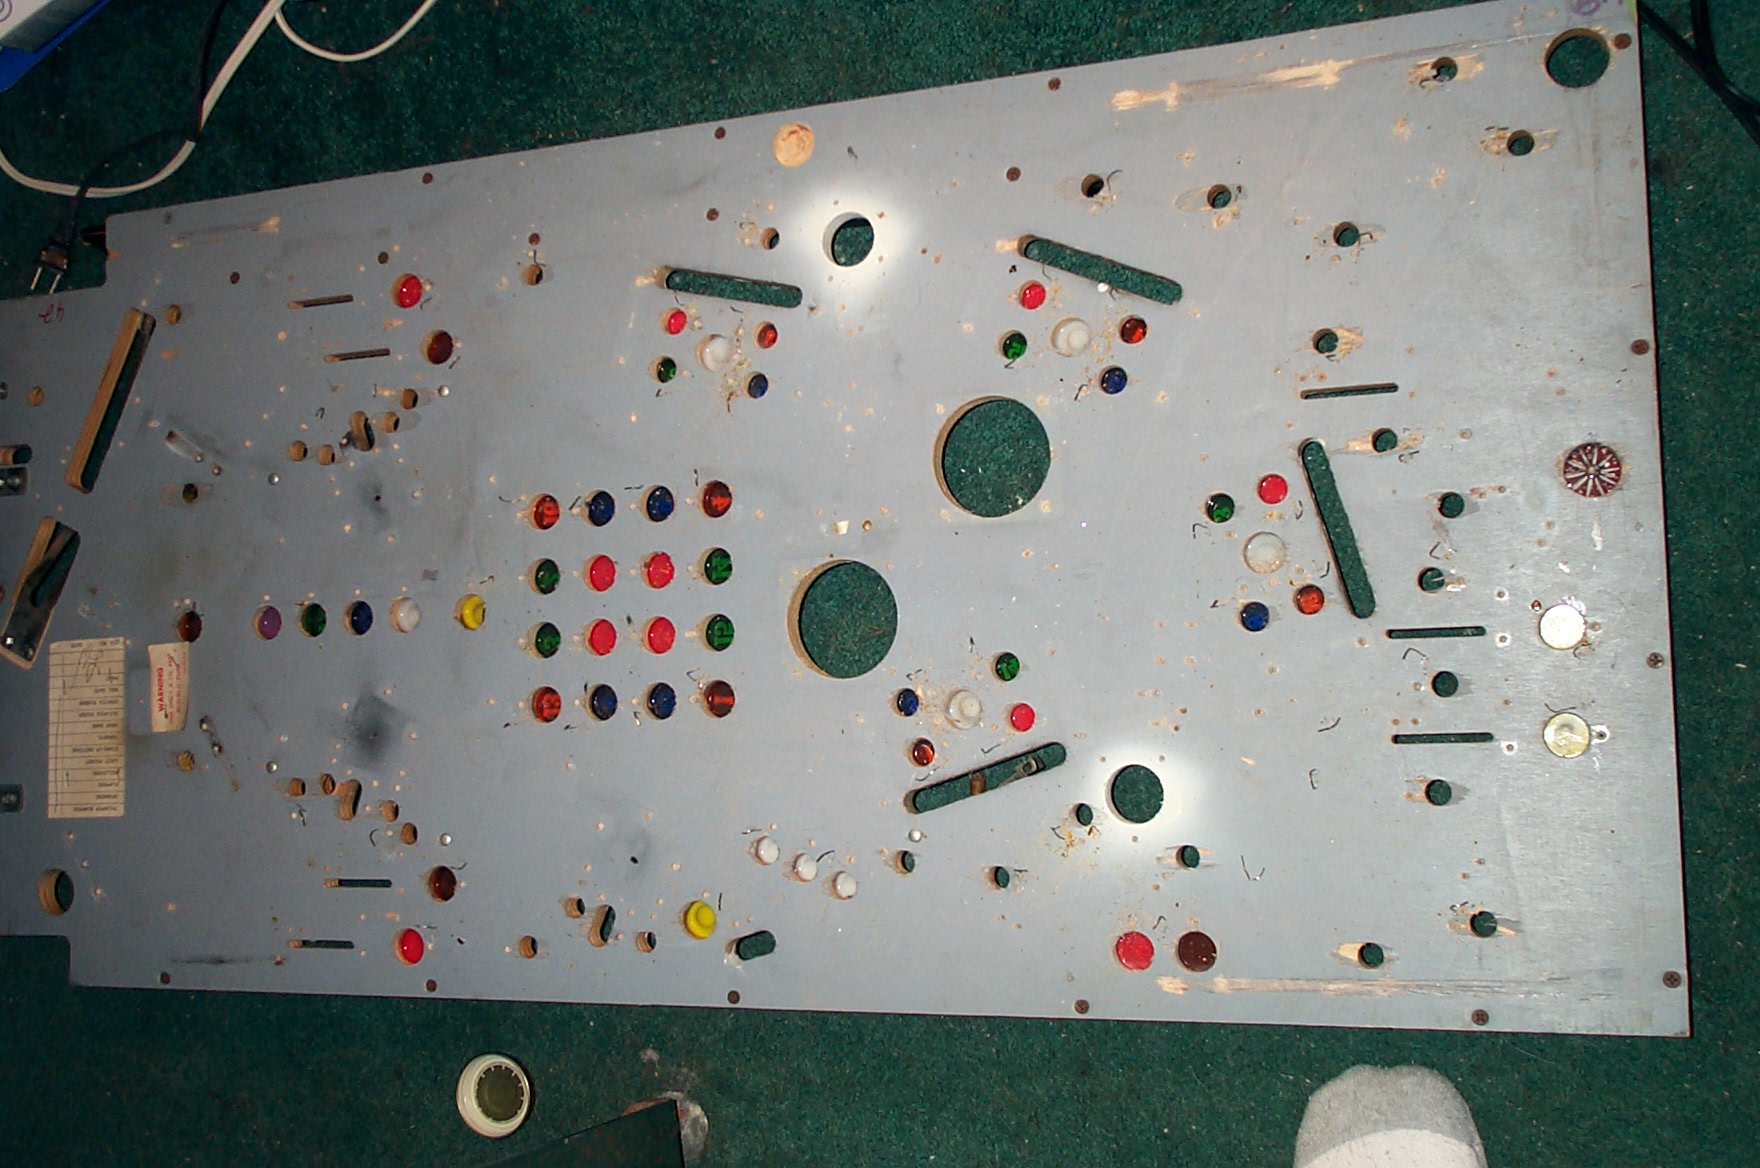
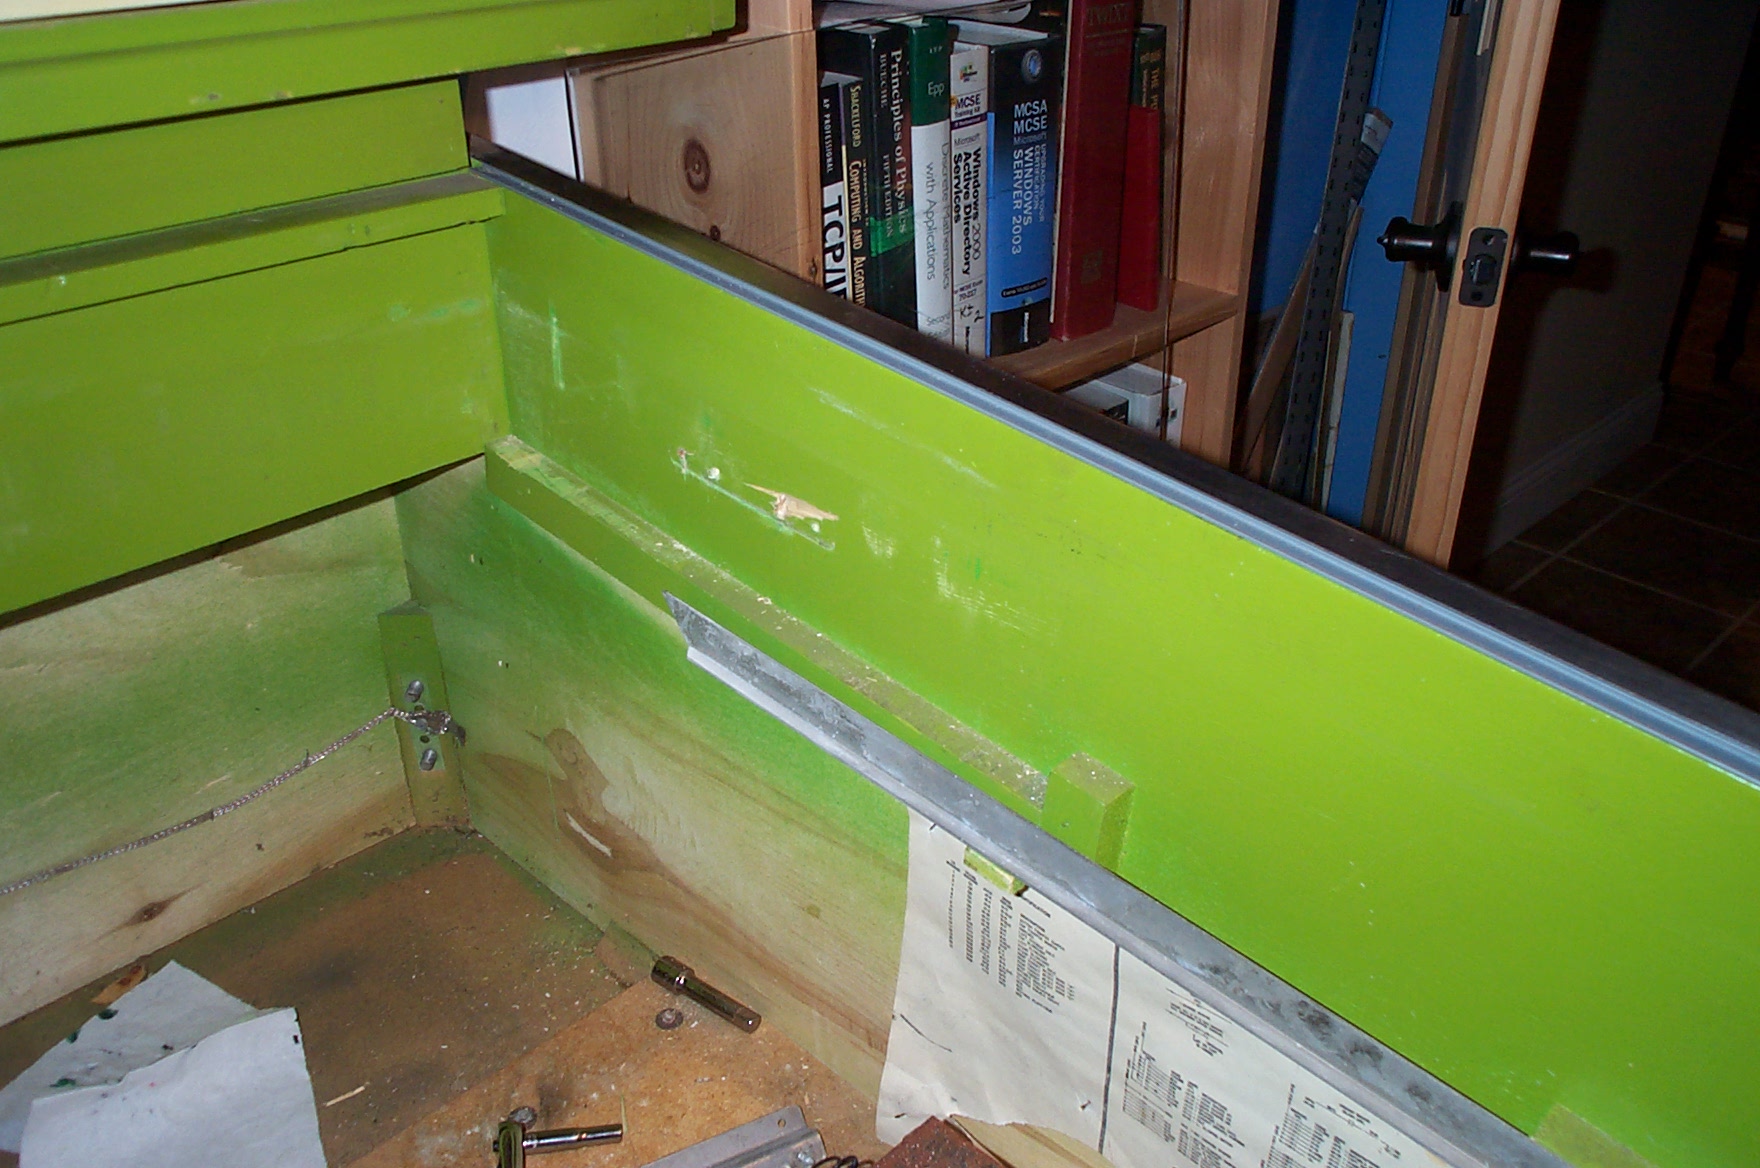
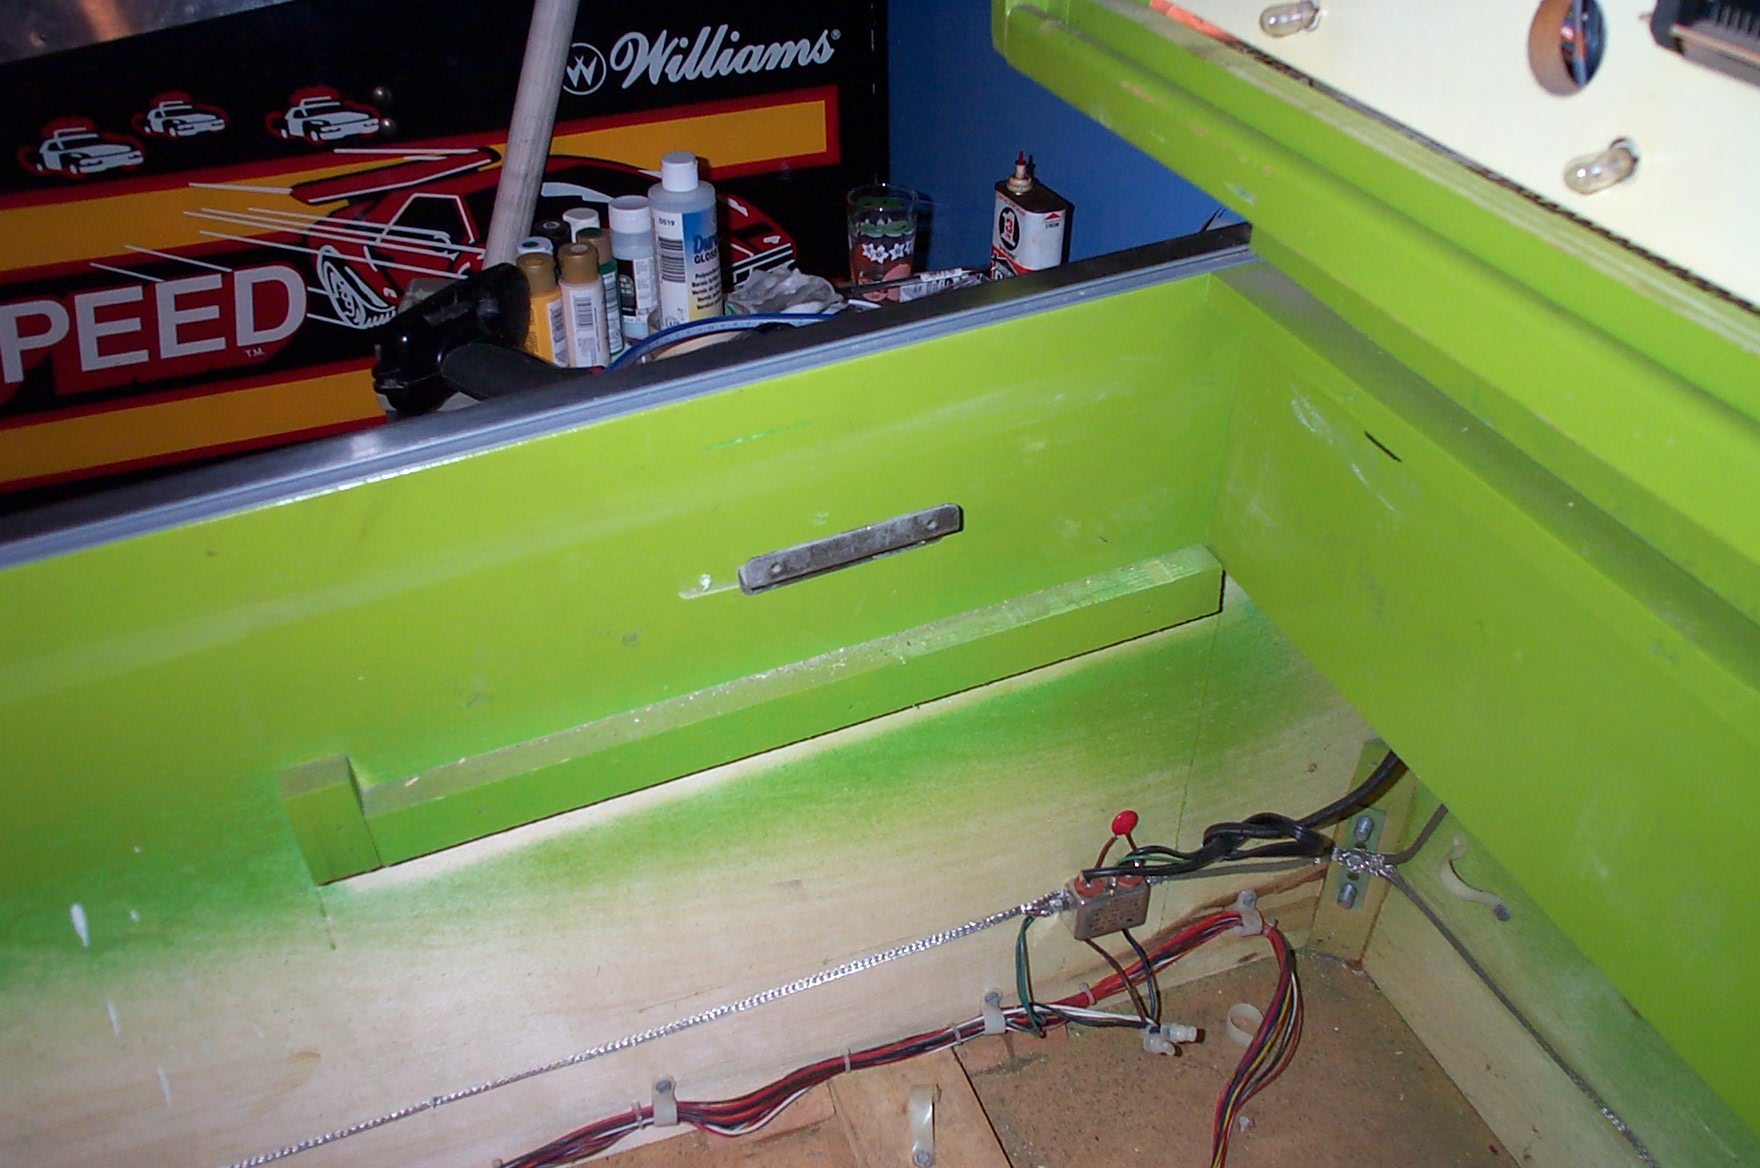
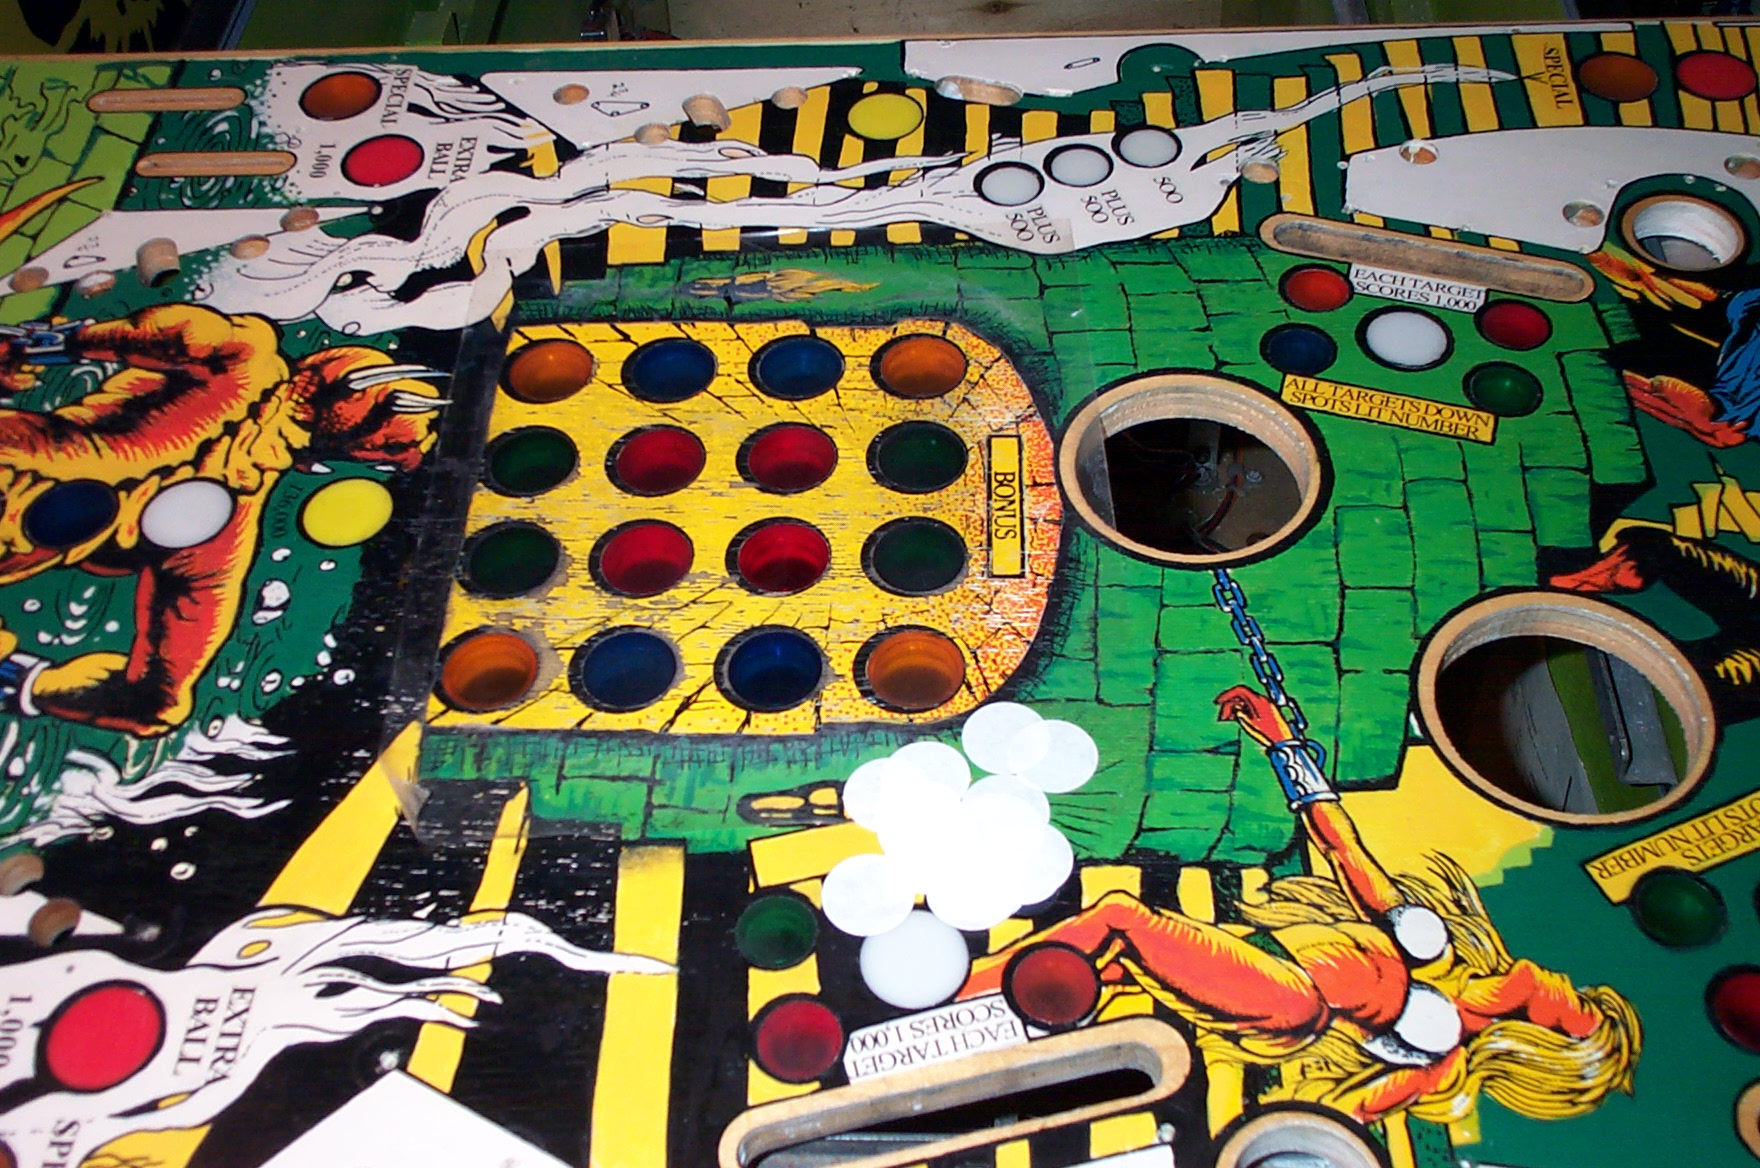
During this point I noticed that the playfield was crooked when siting in the cabinet. looks like for some reason they had to move the rests. had to realign and now much better.

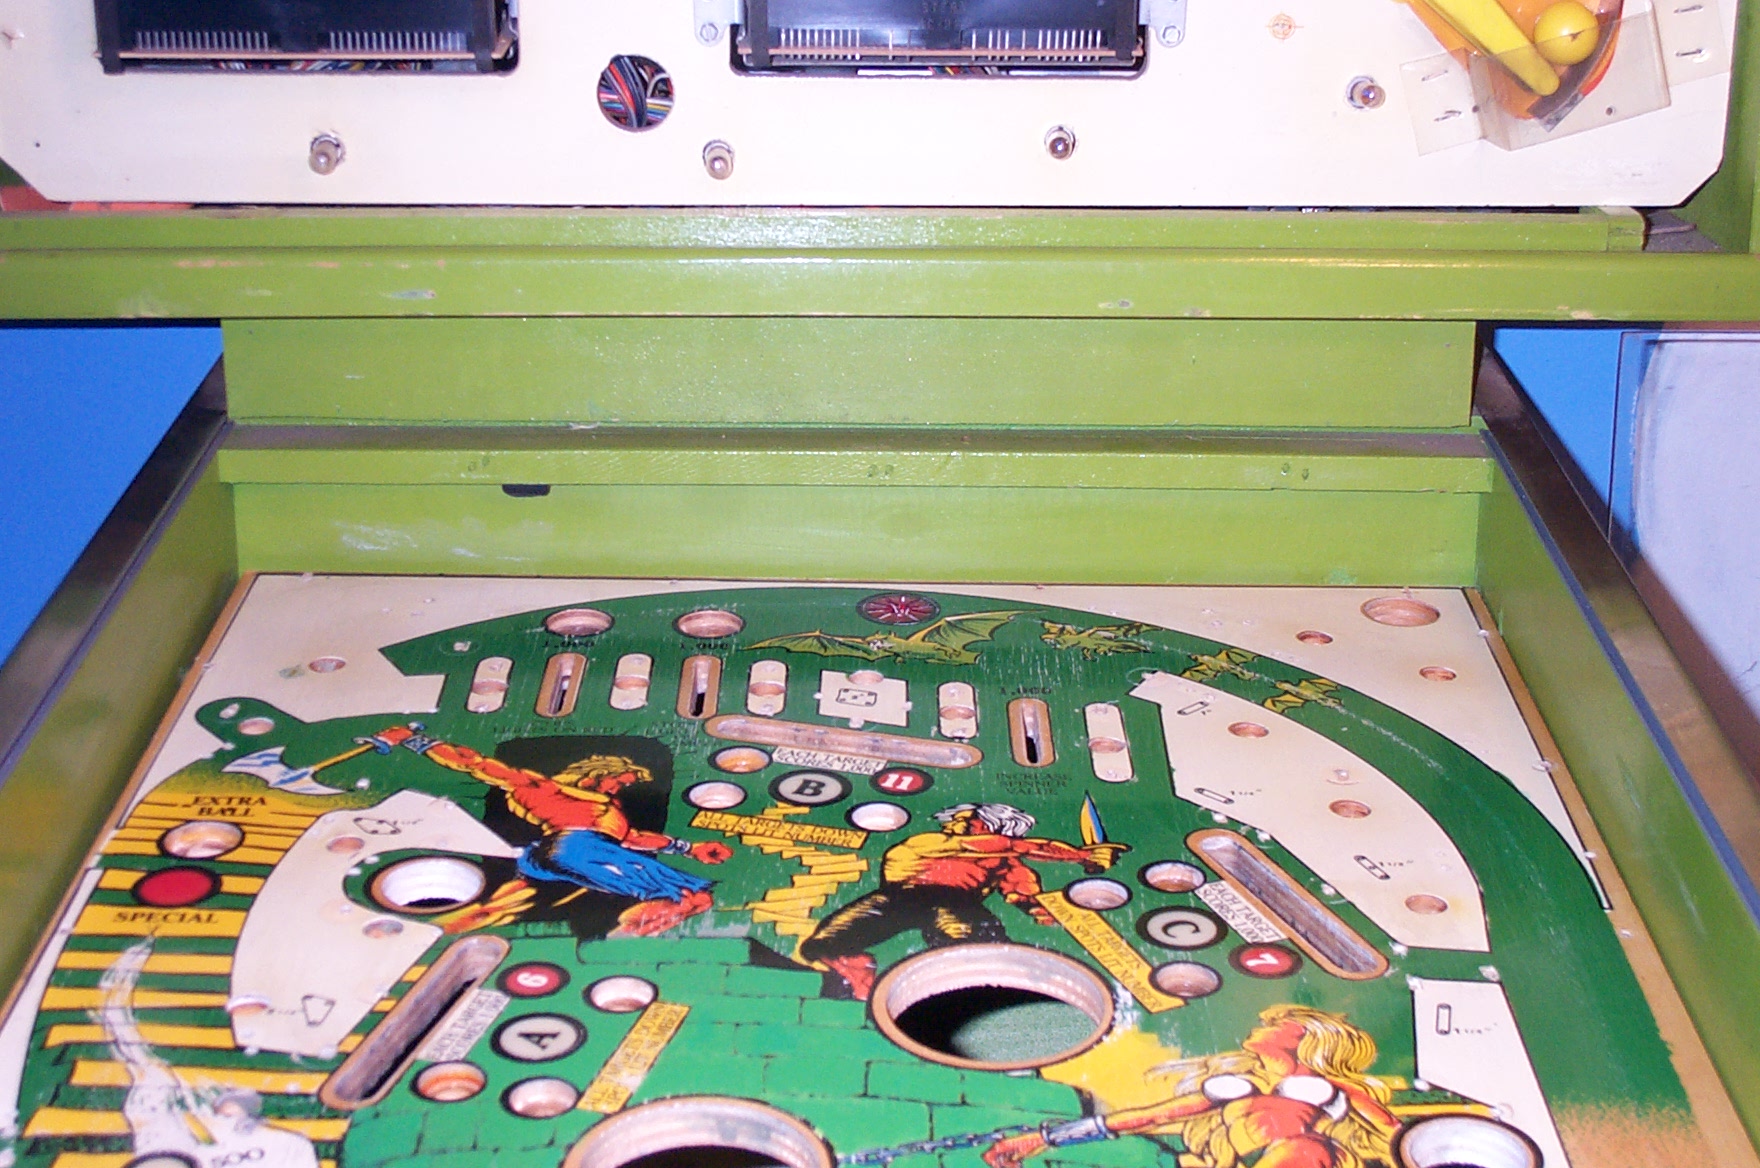
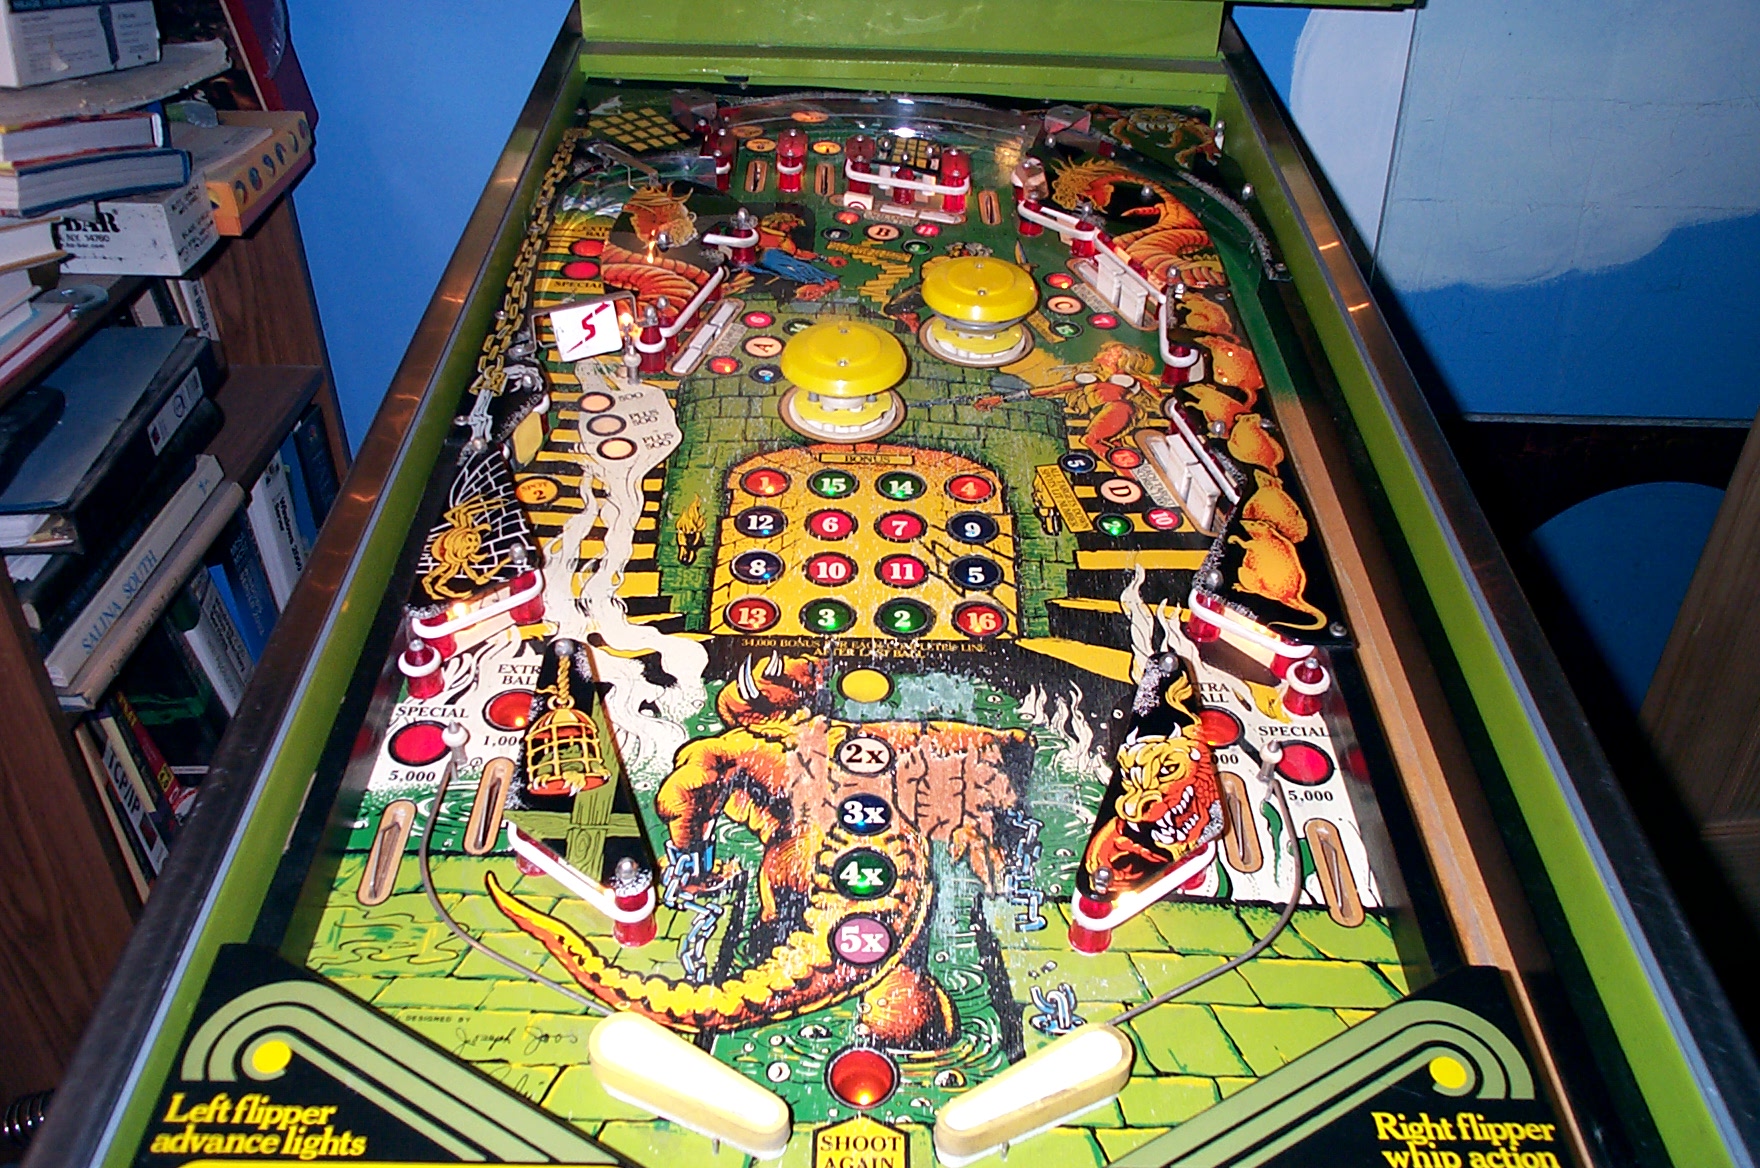
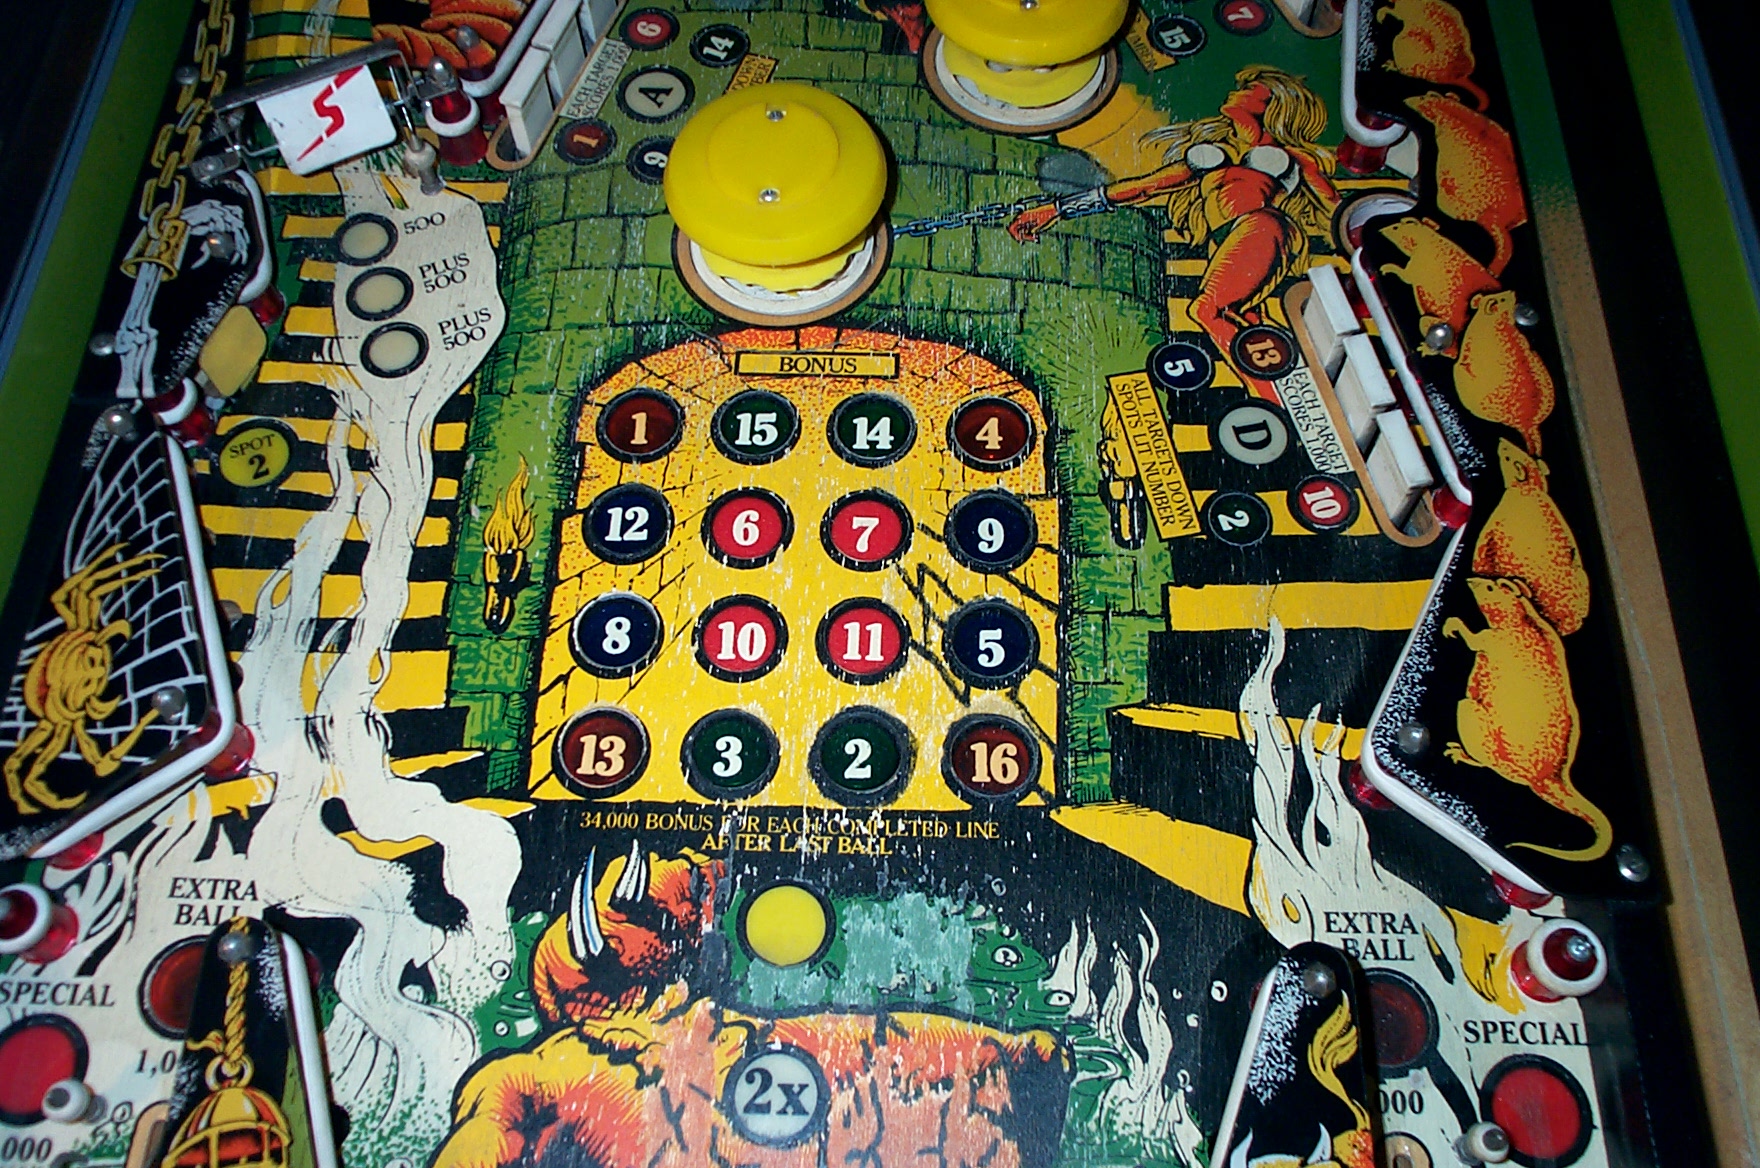
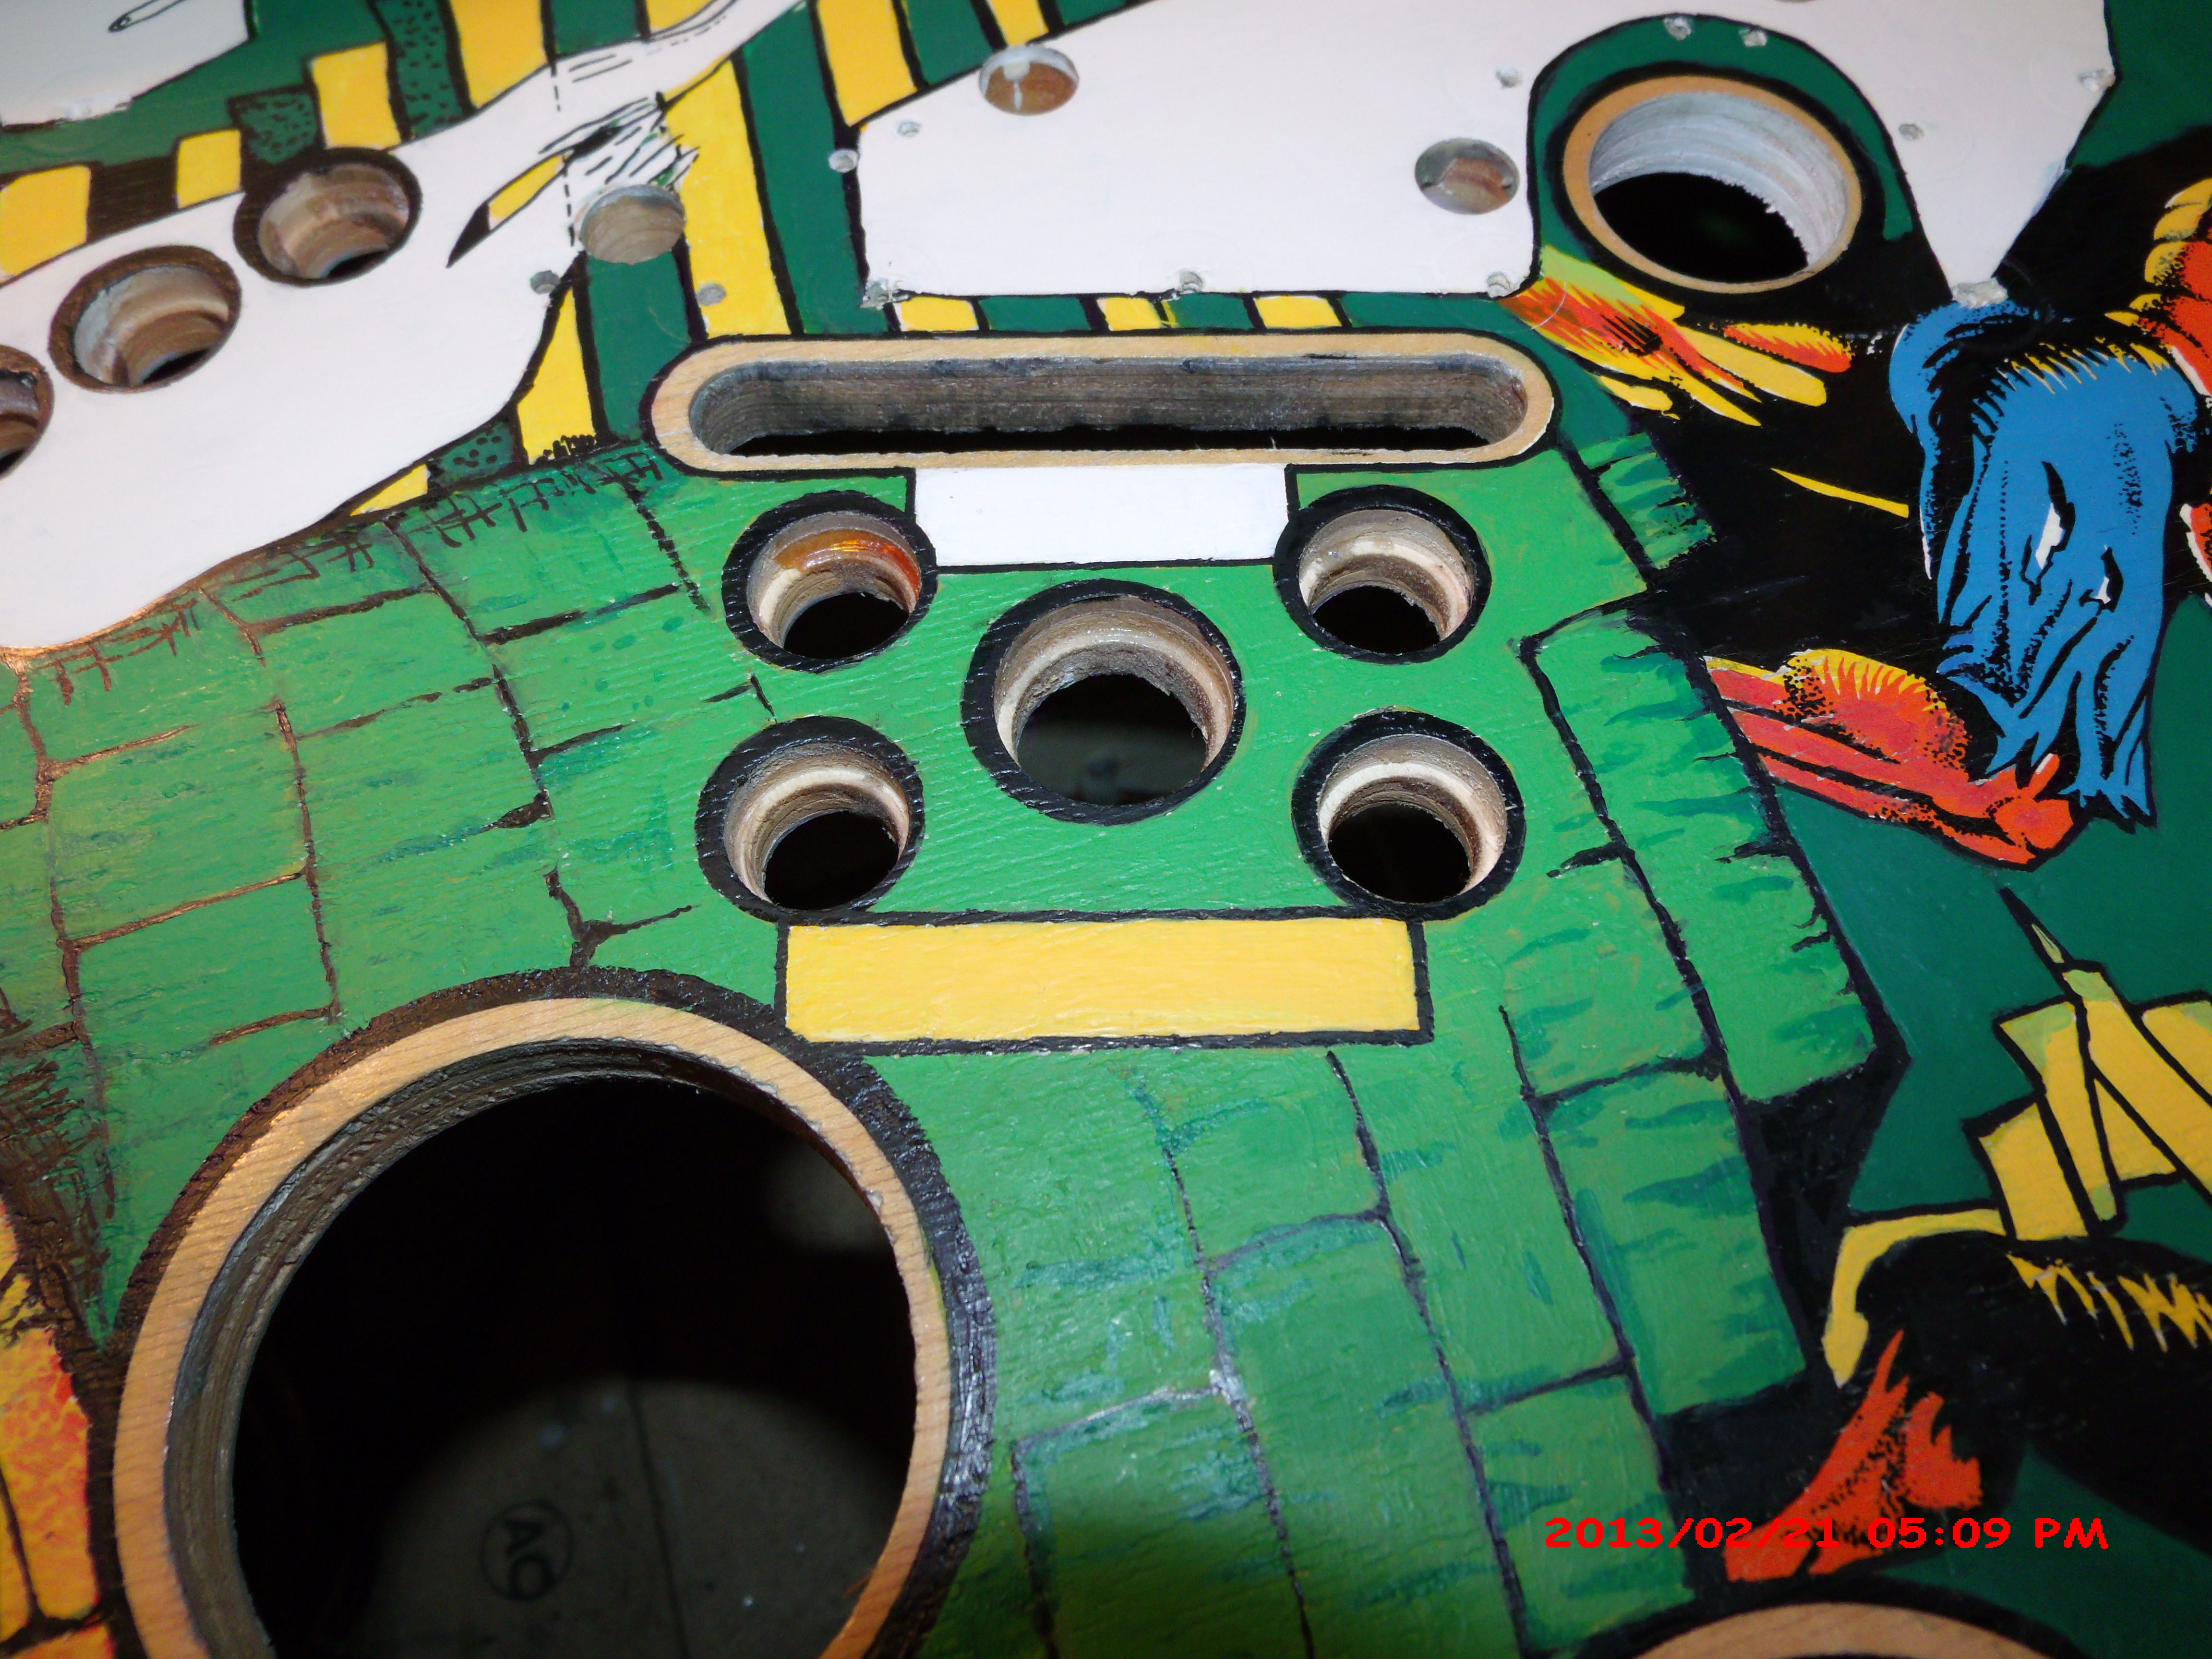
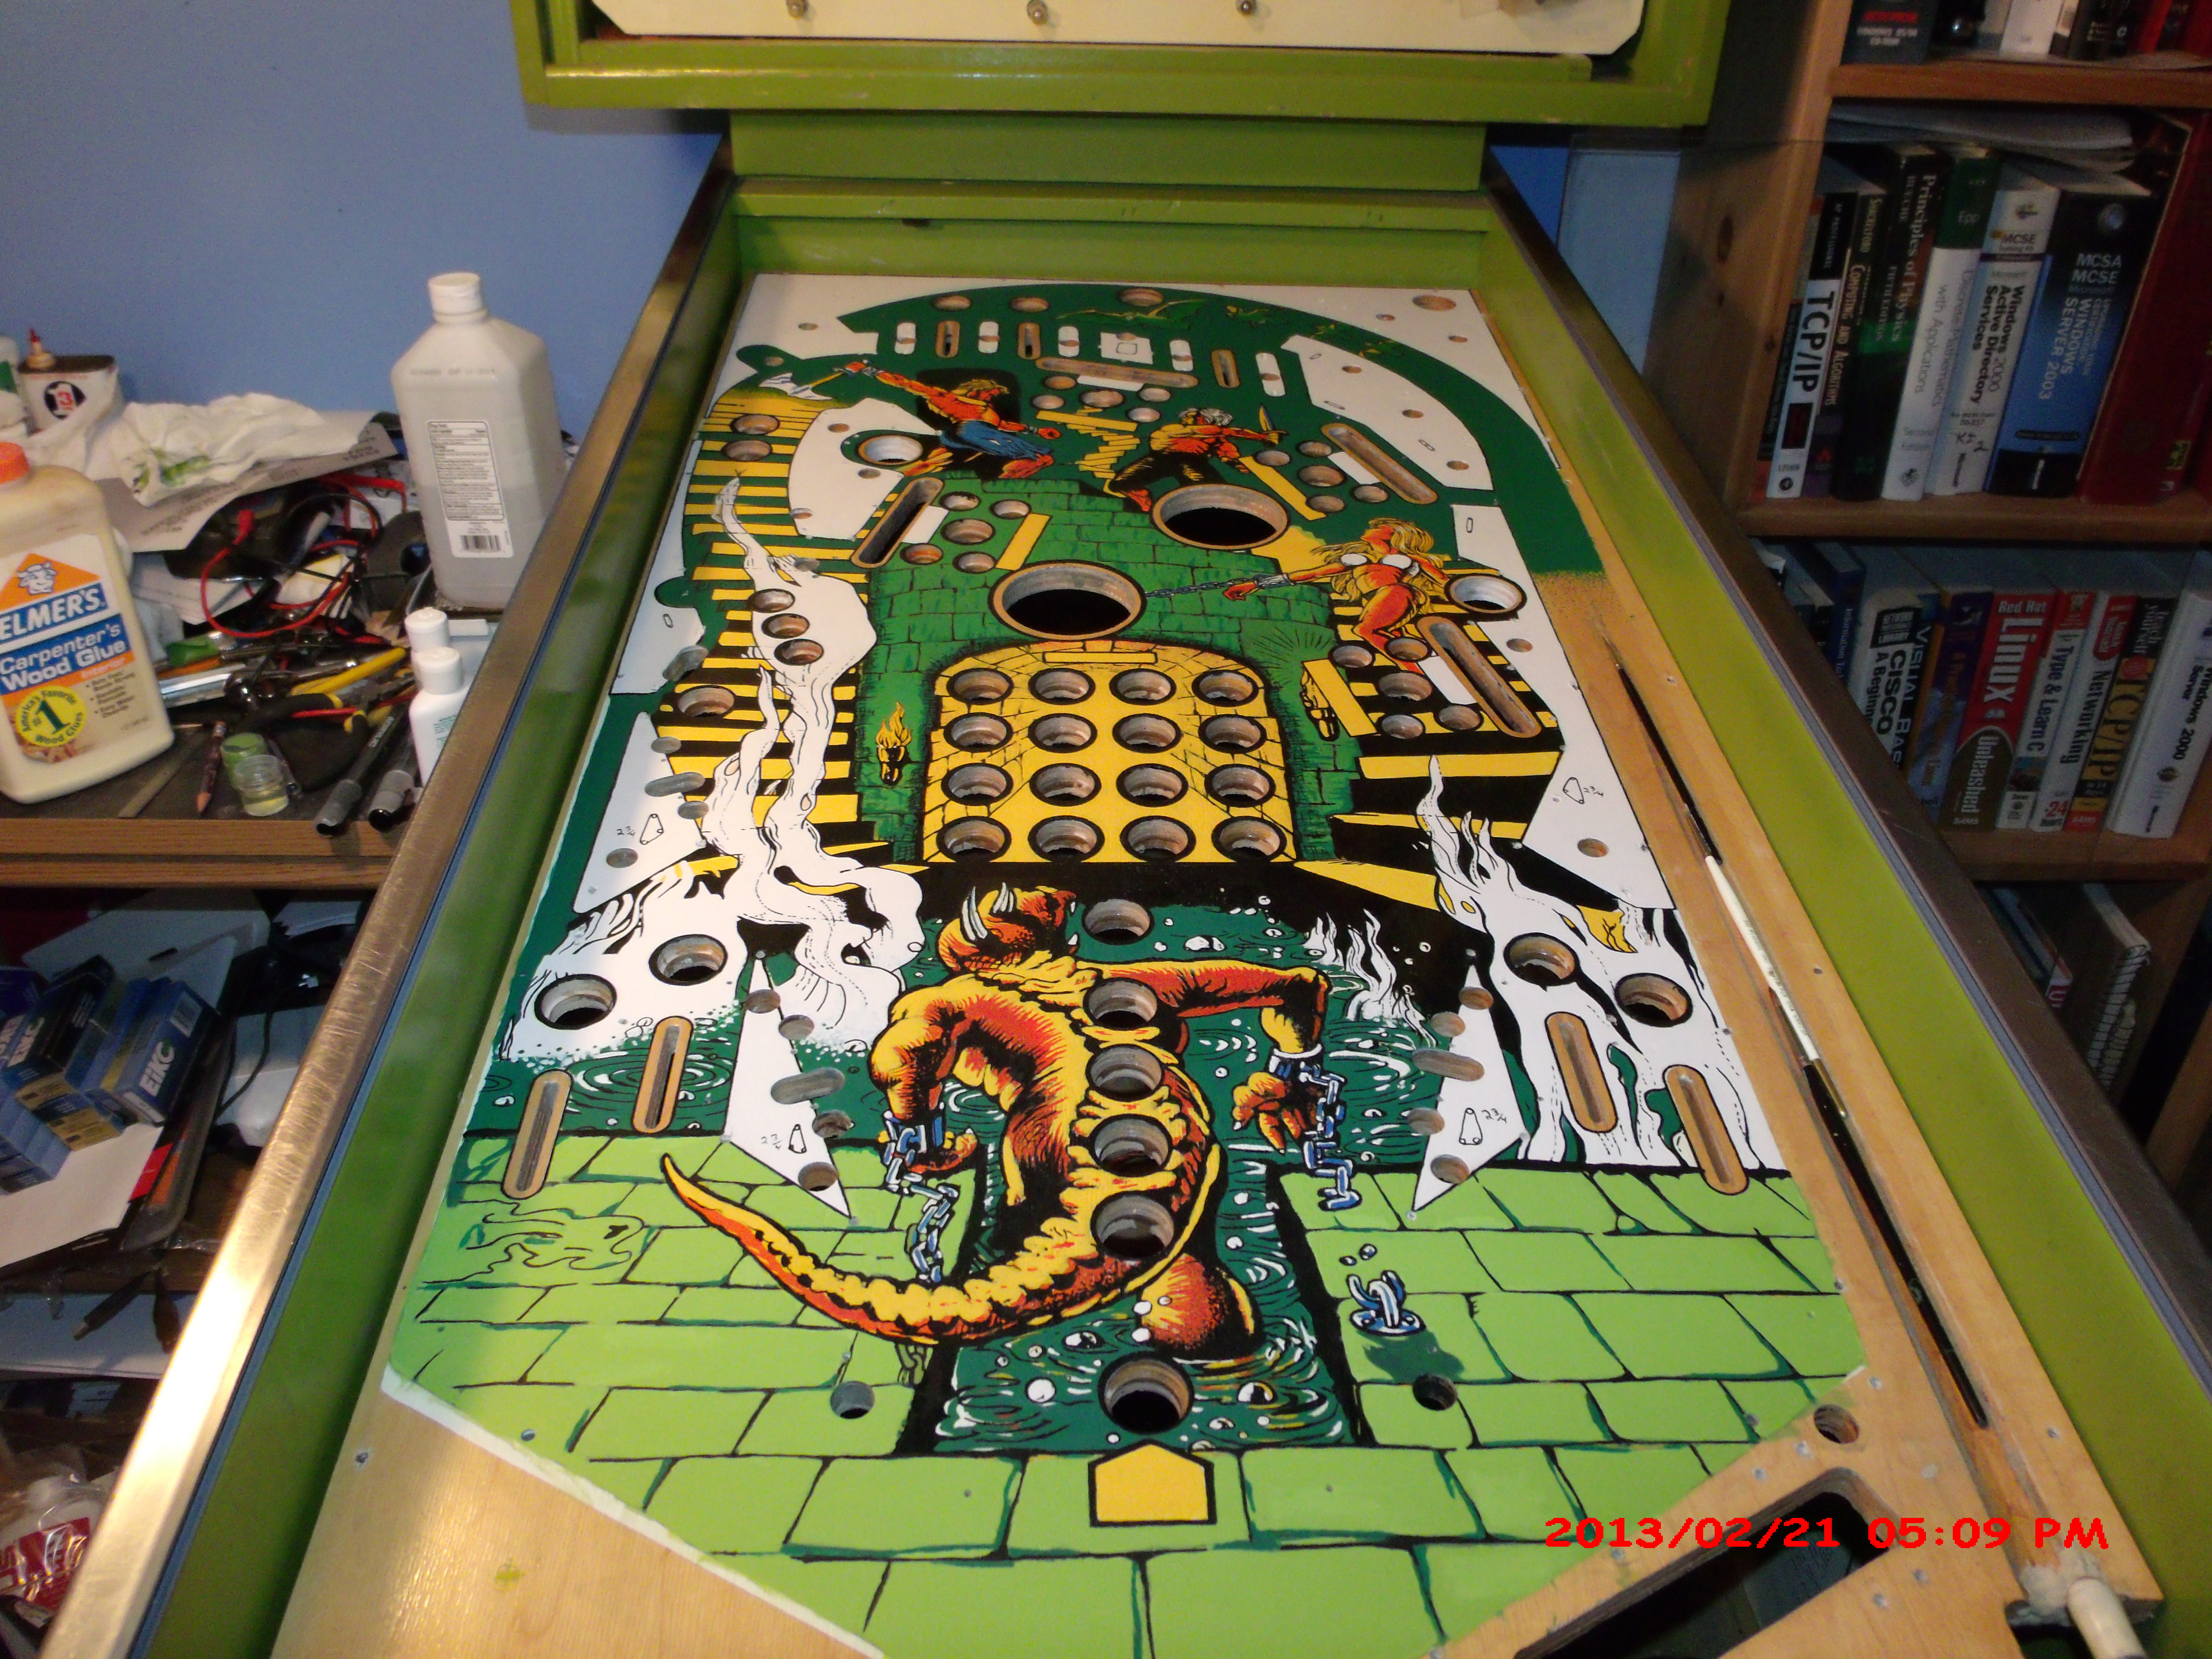
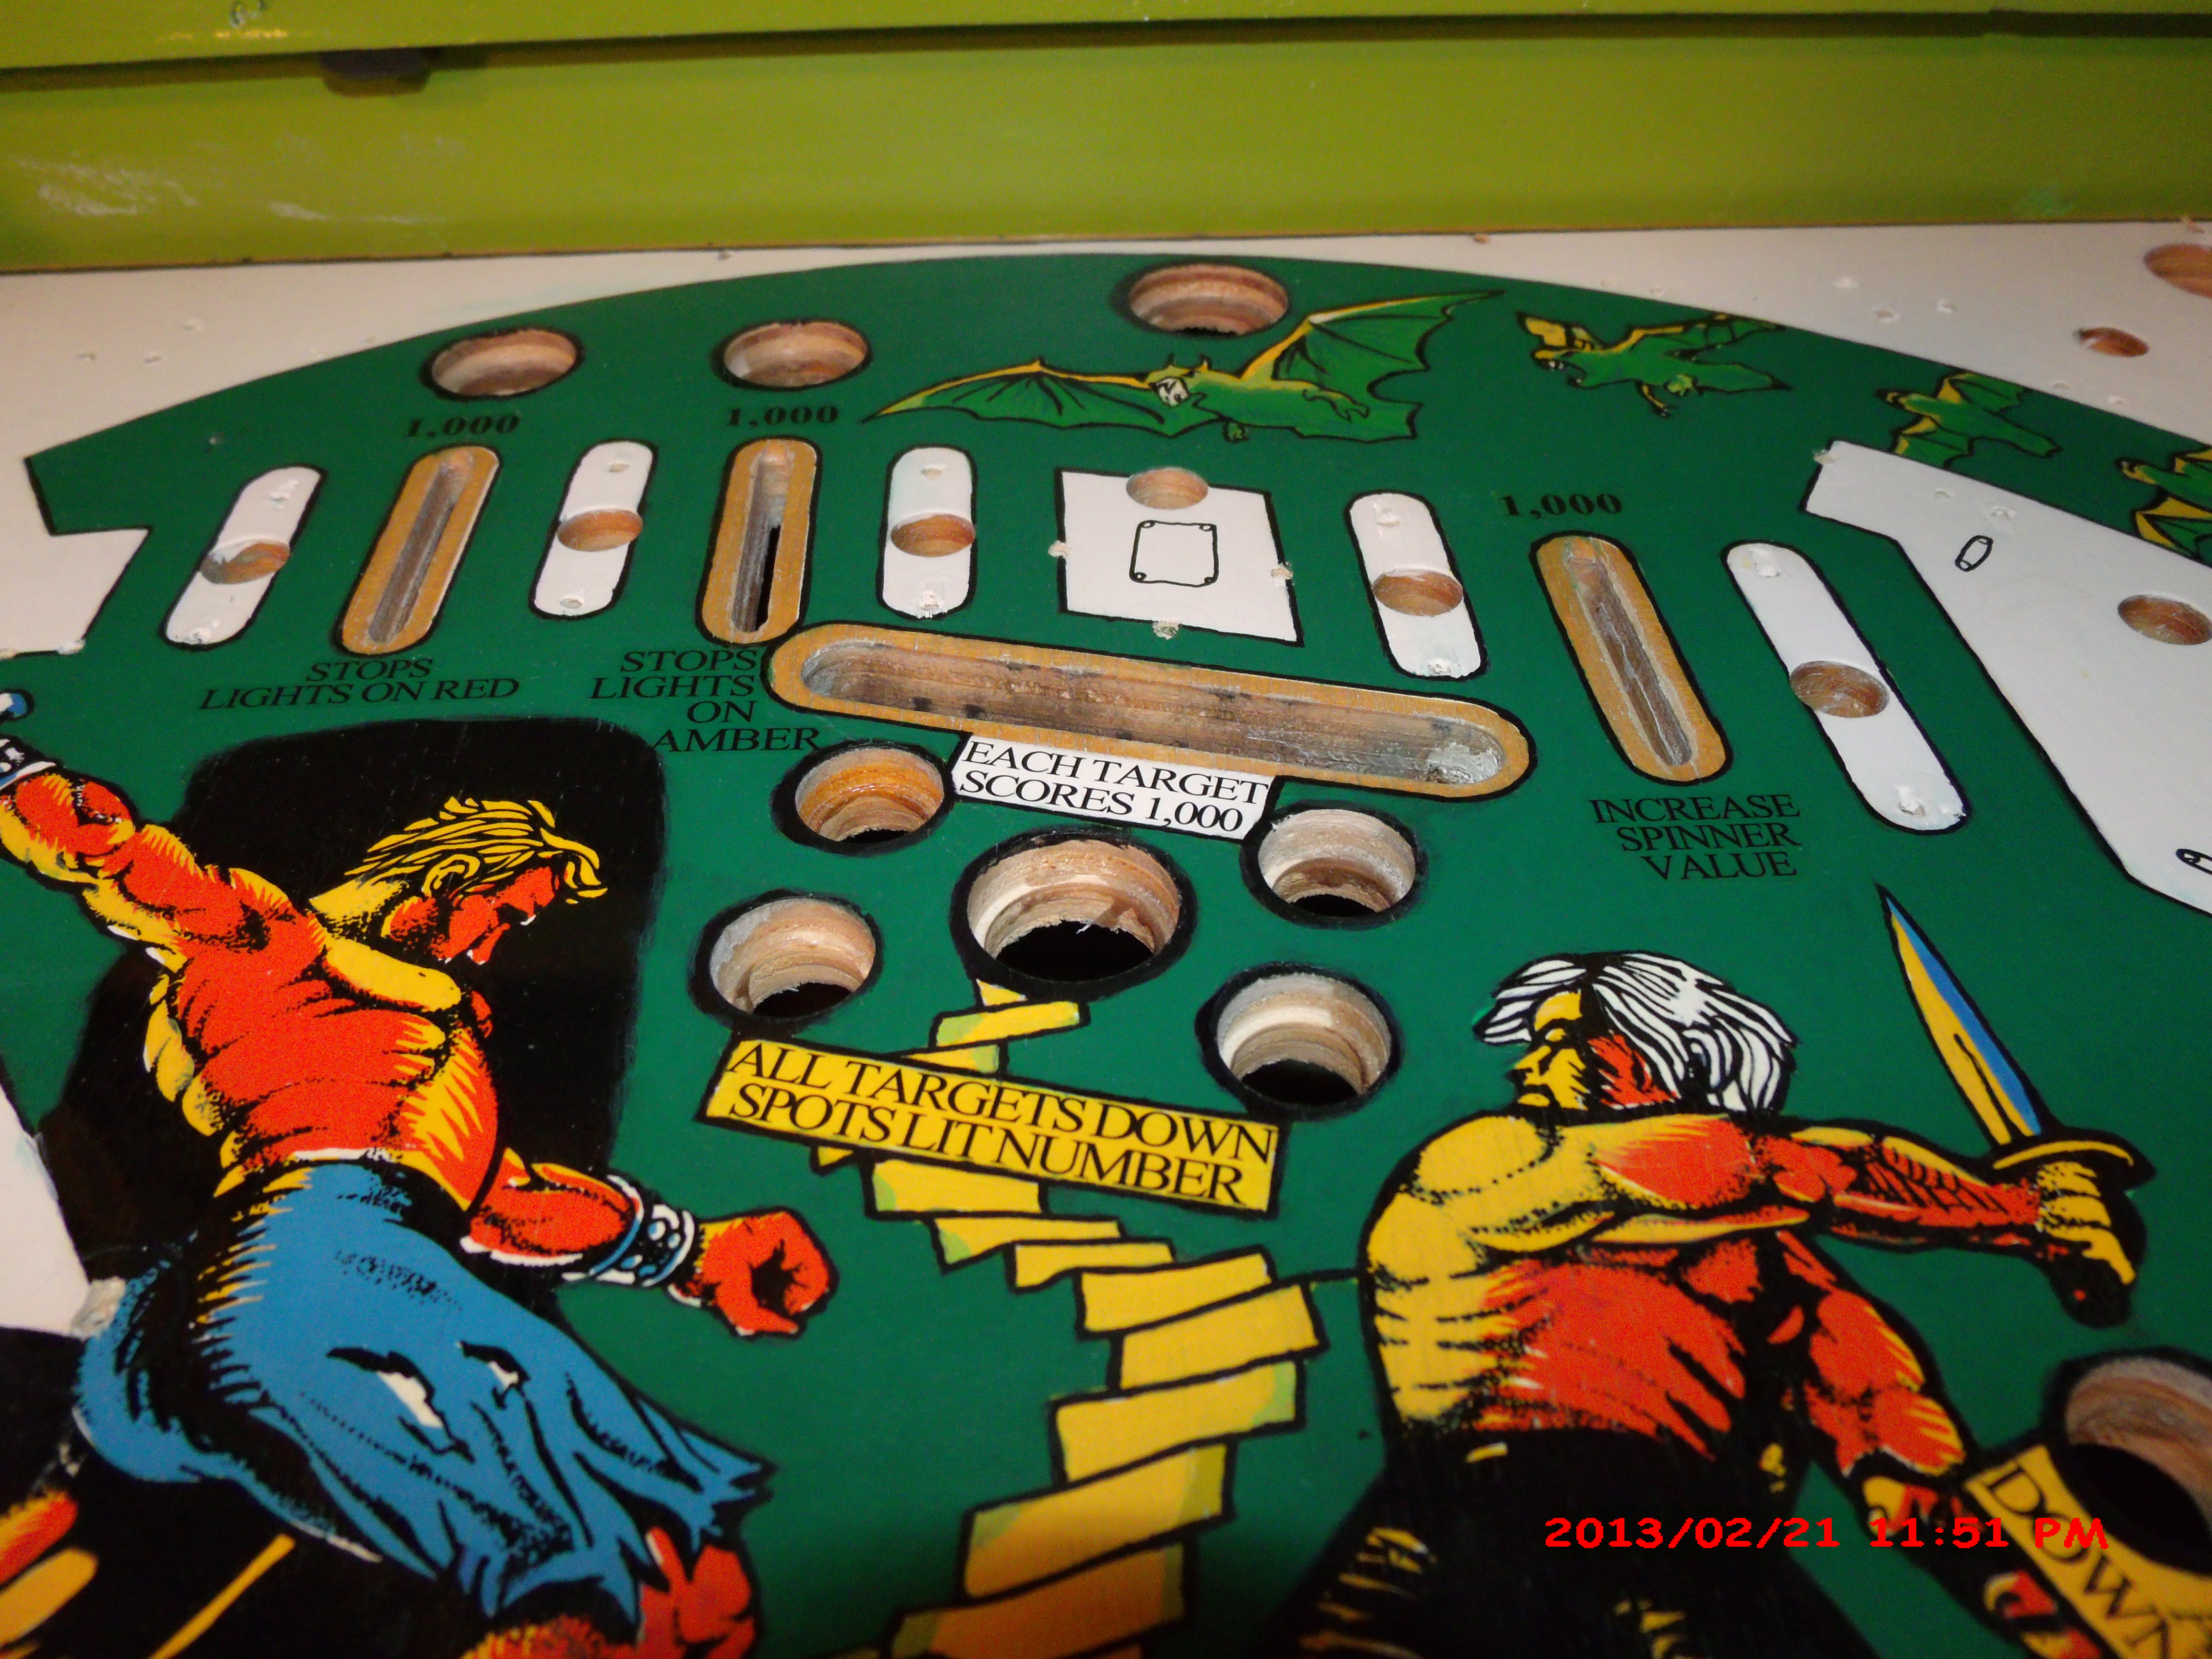
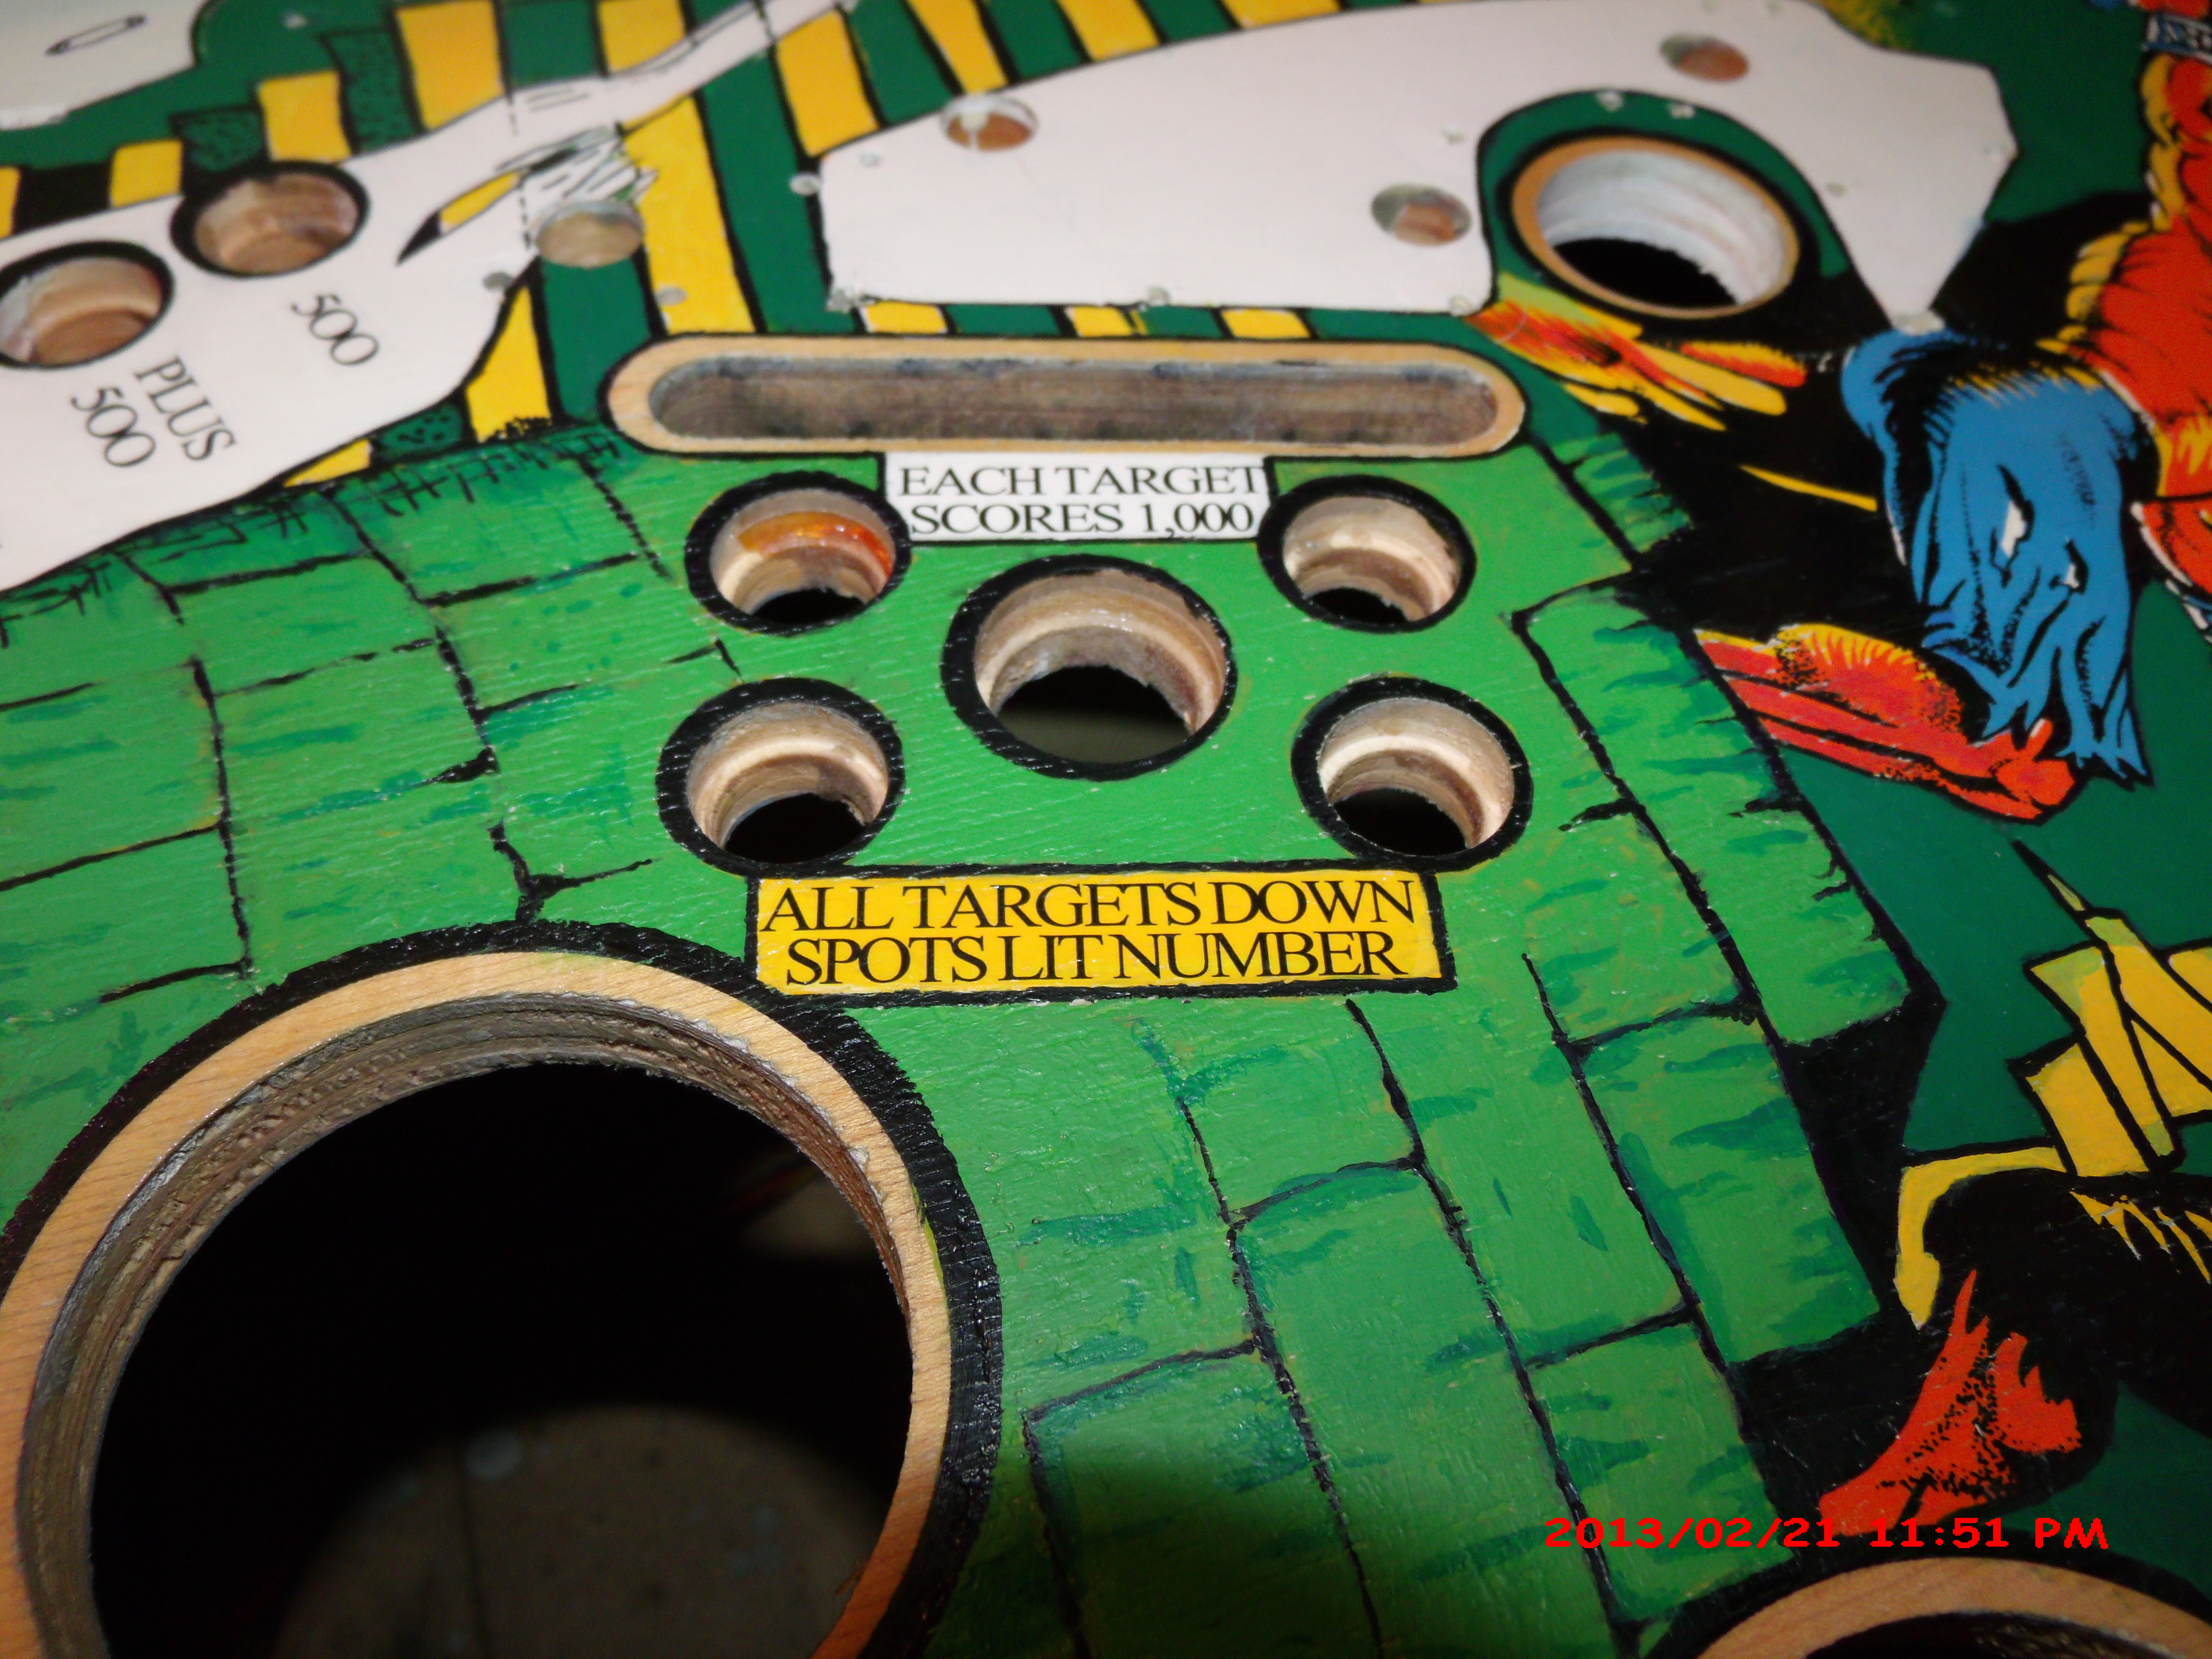
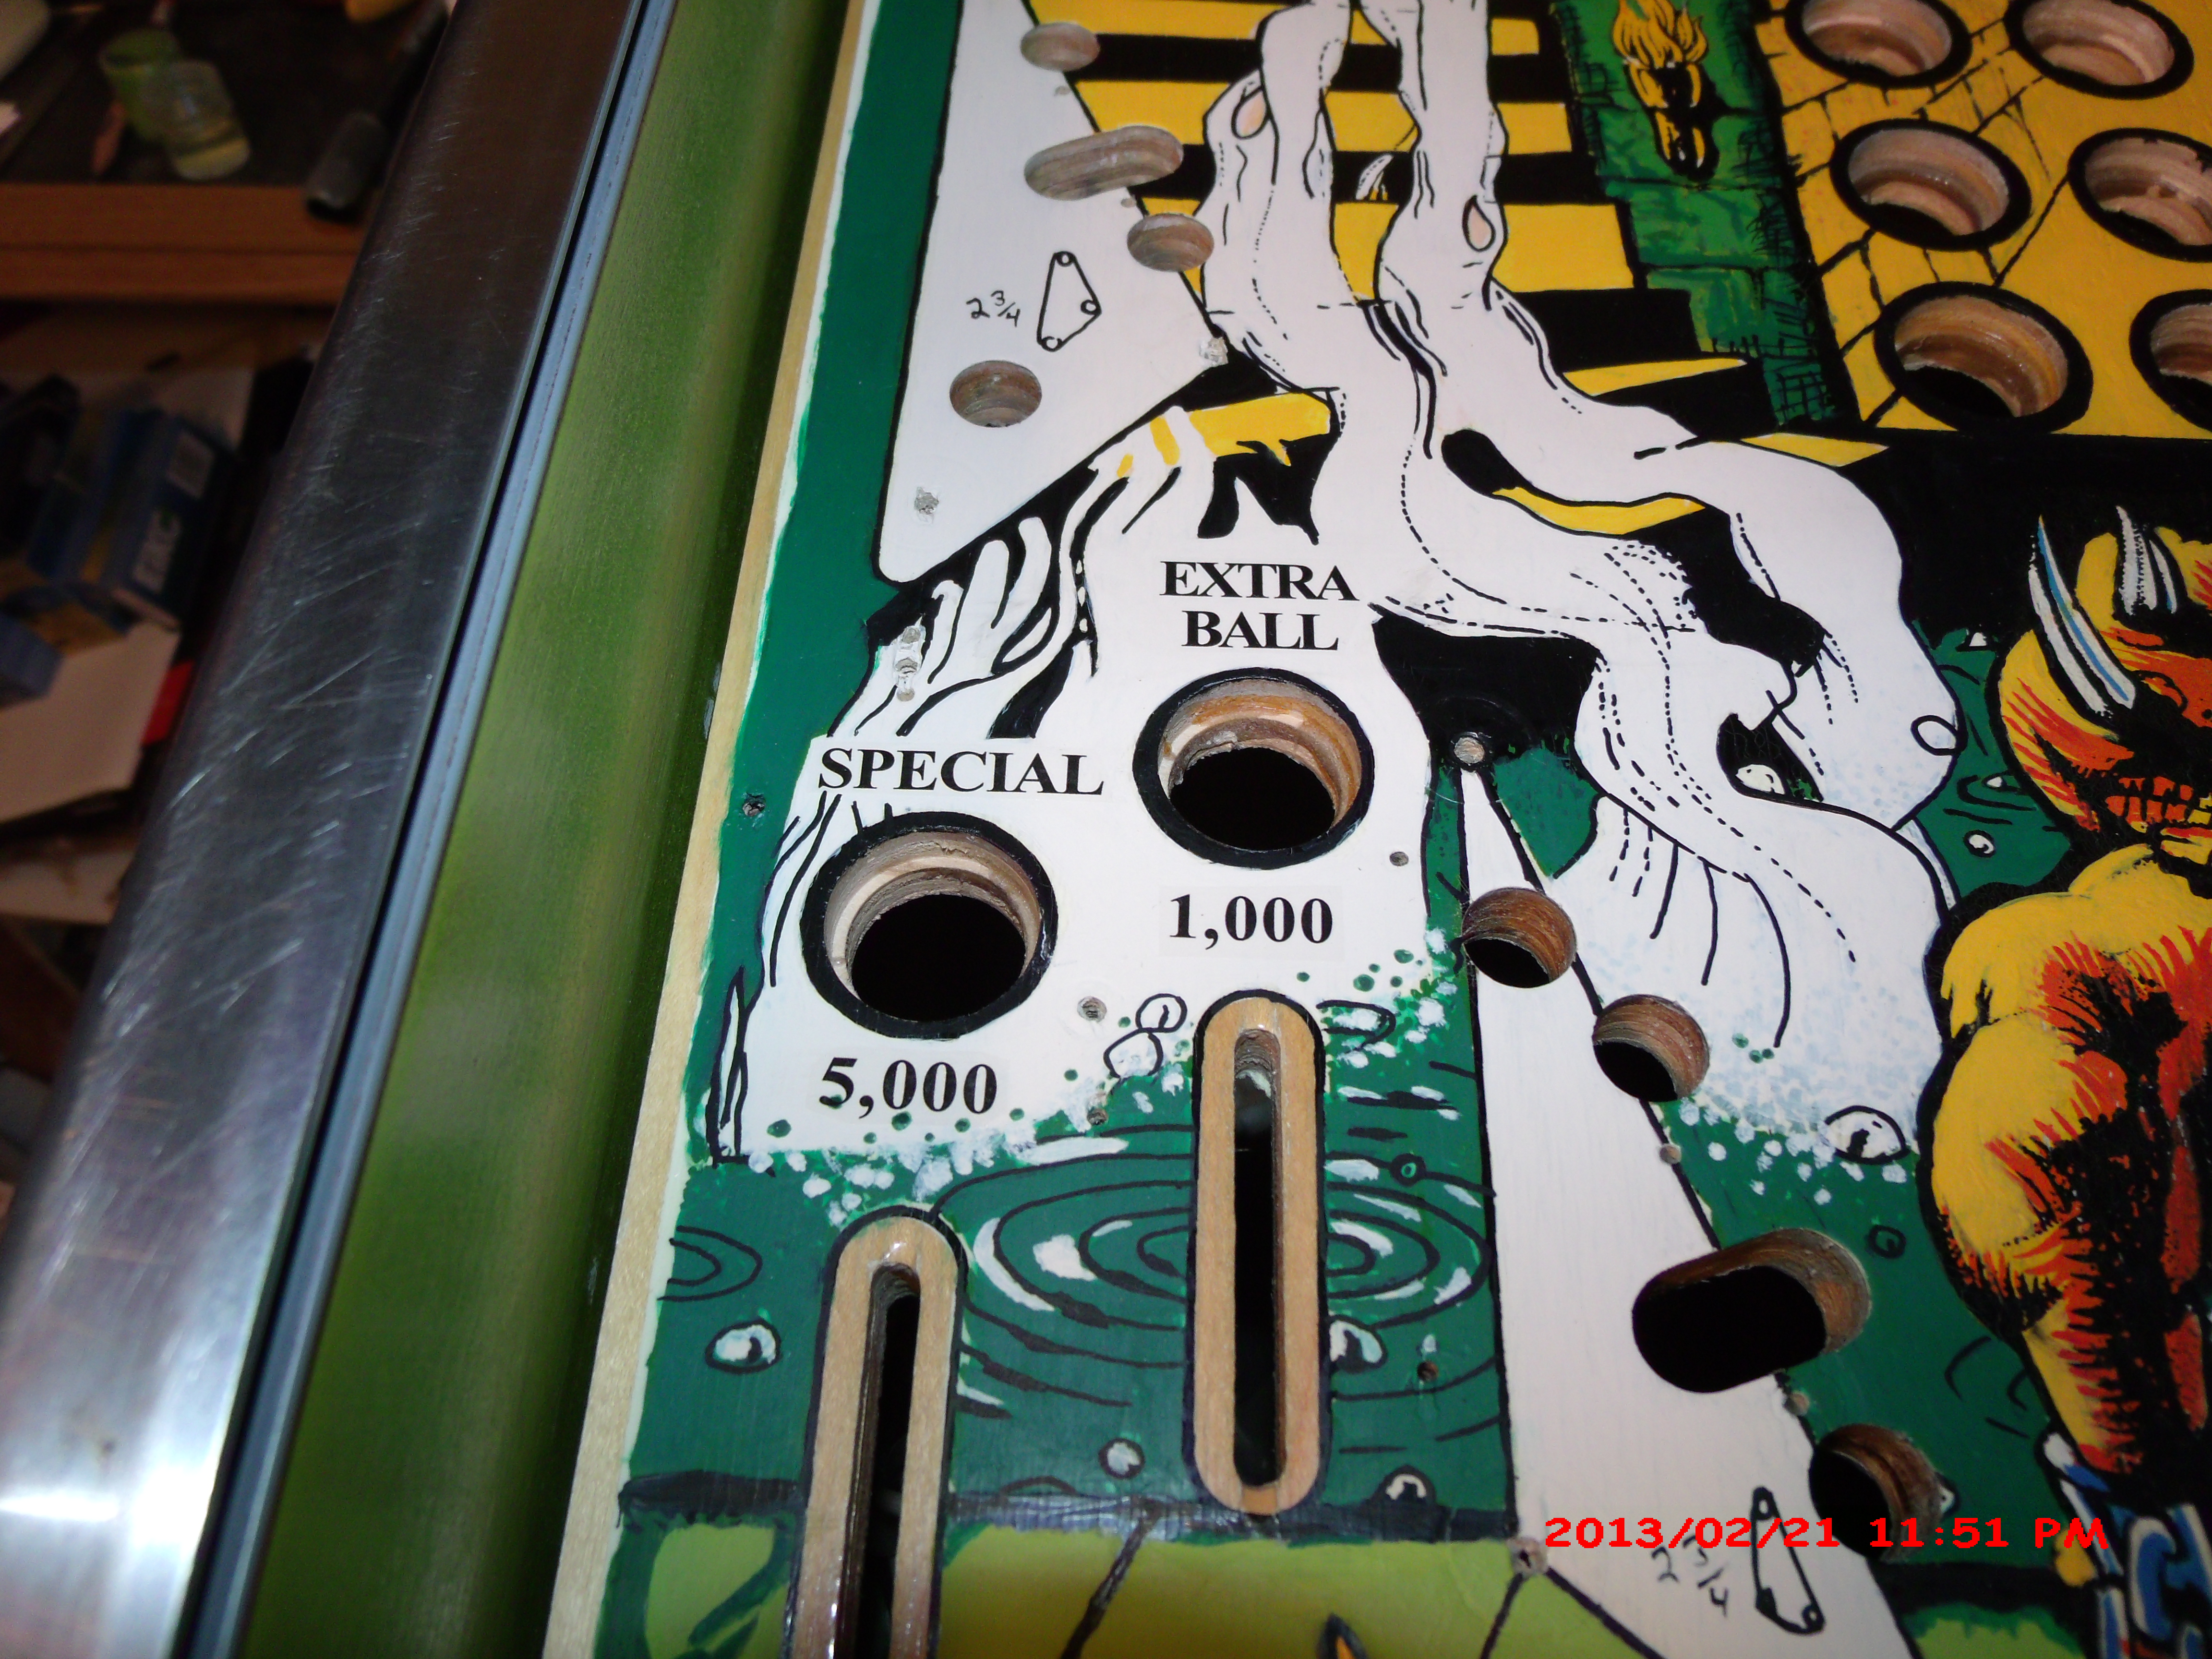
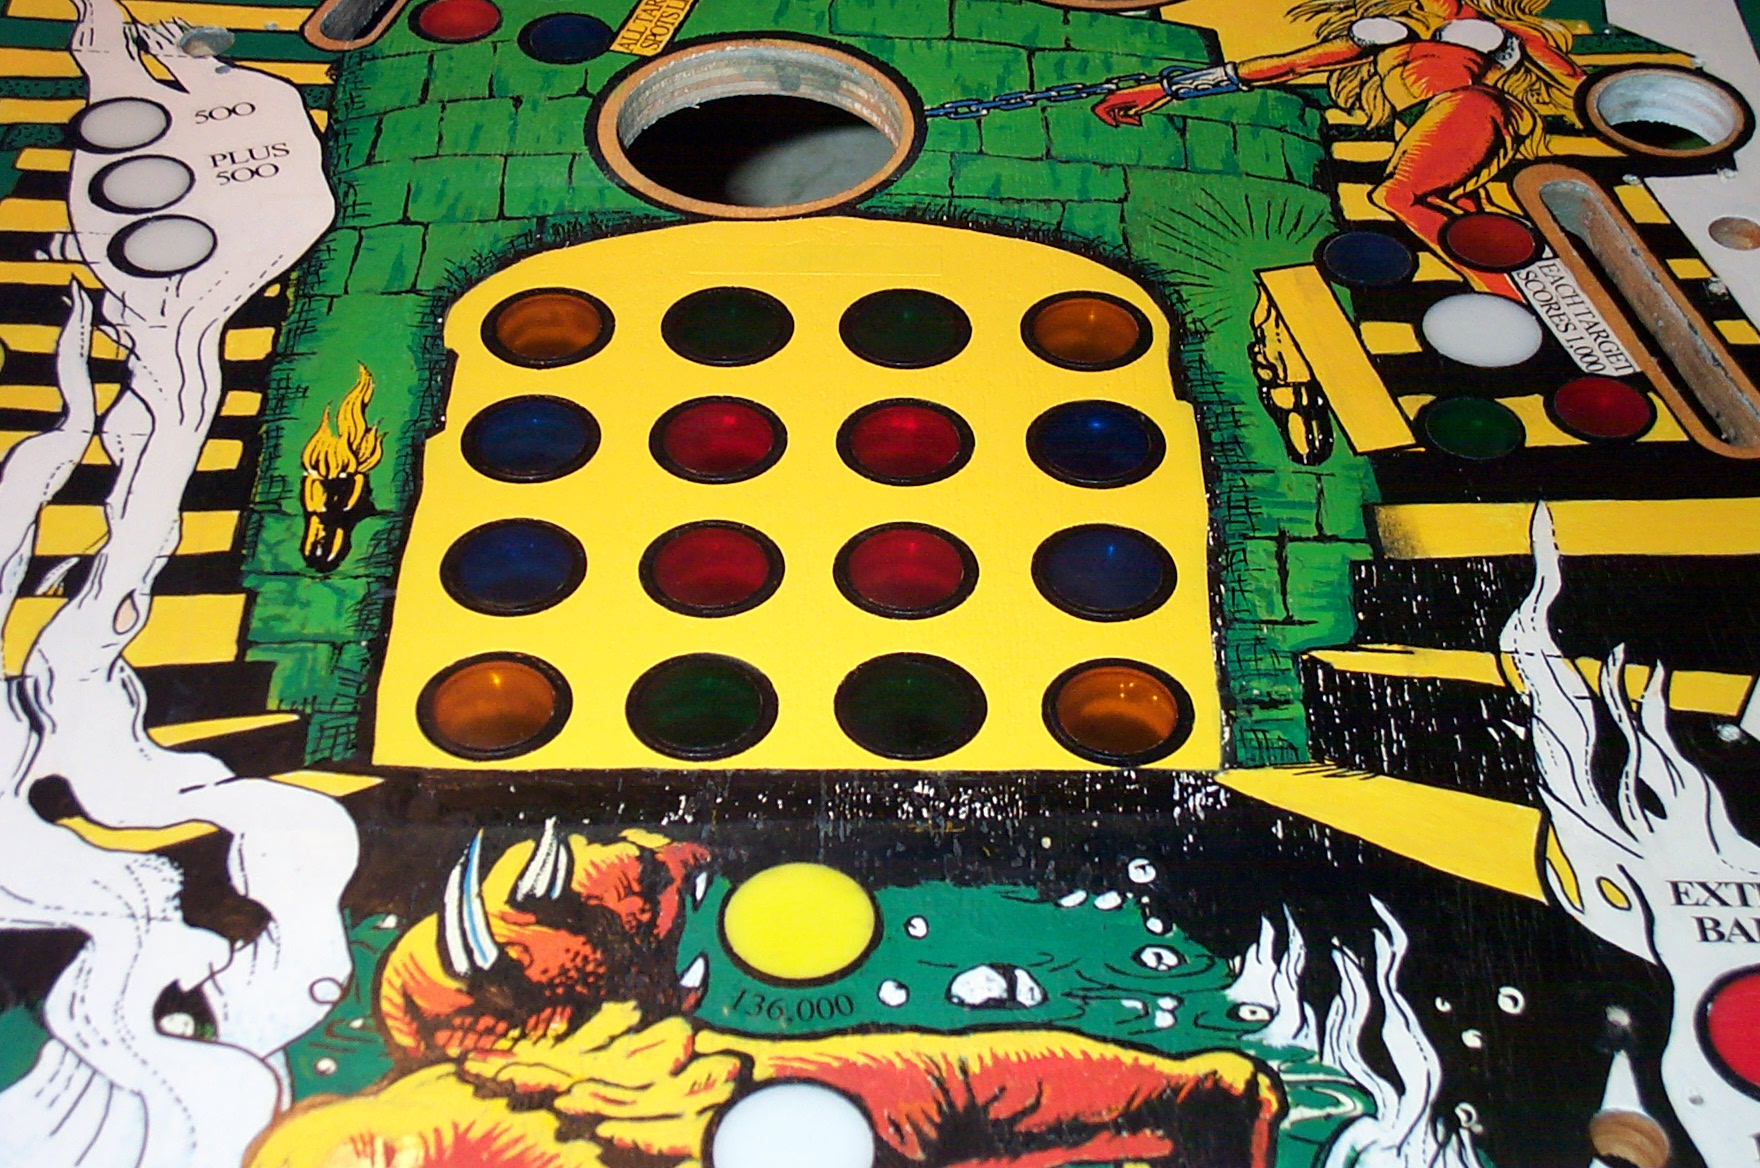
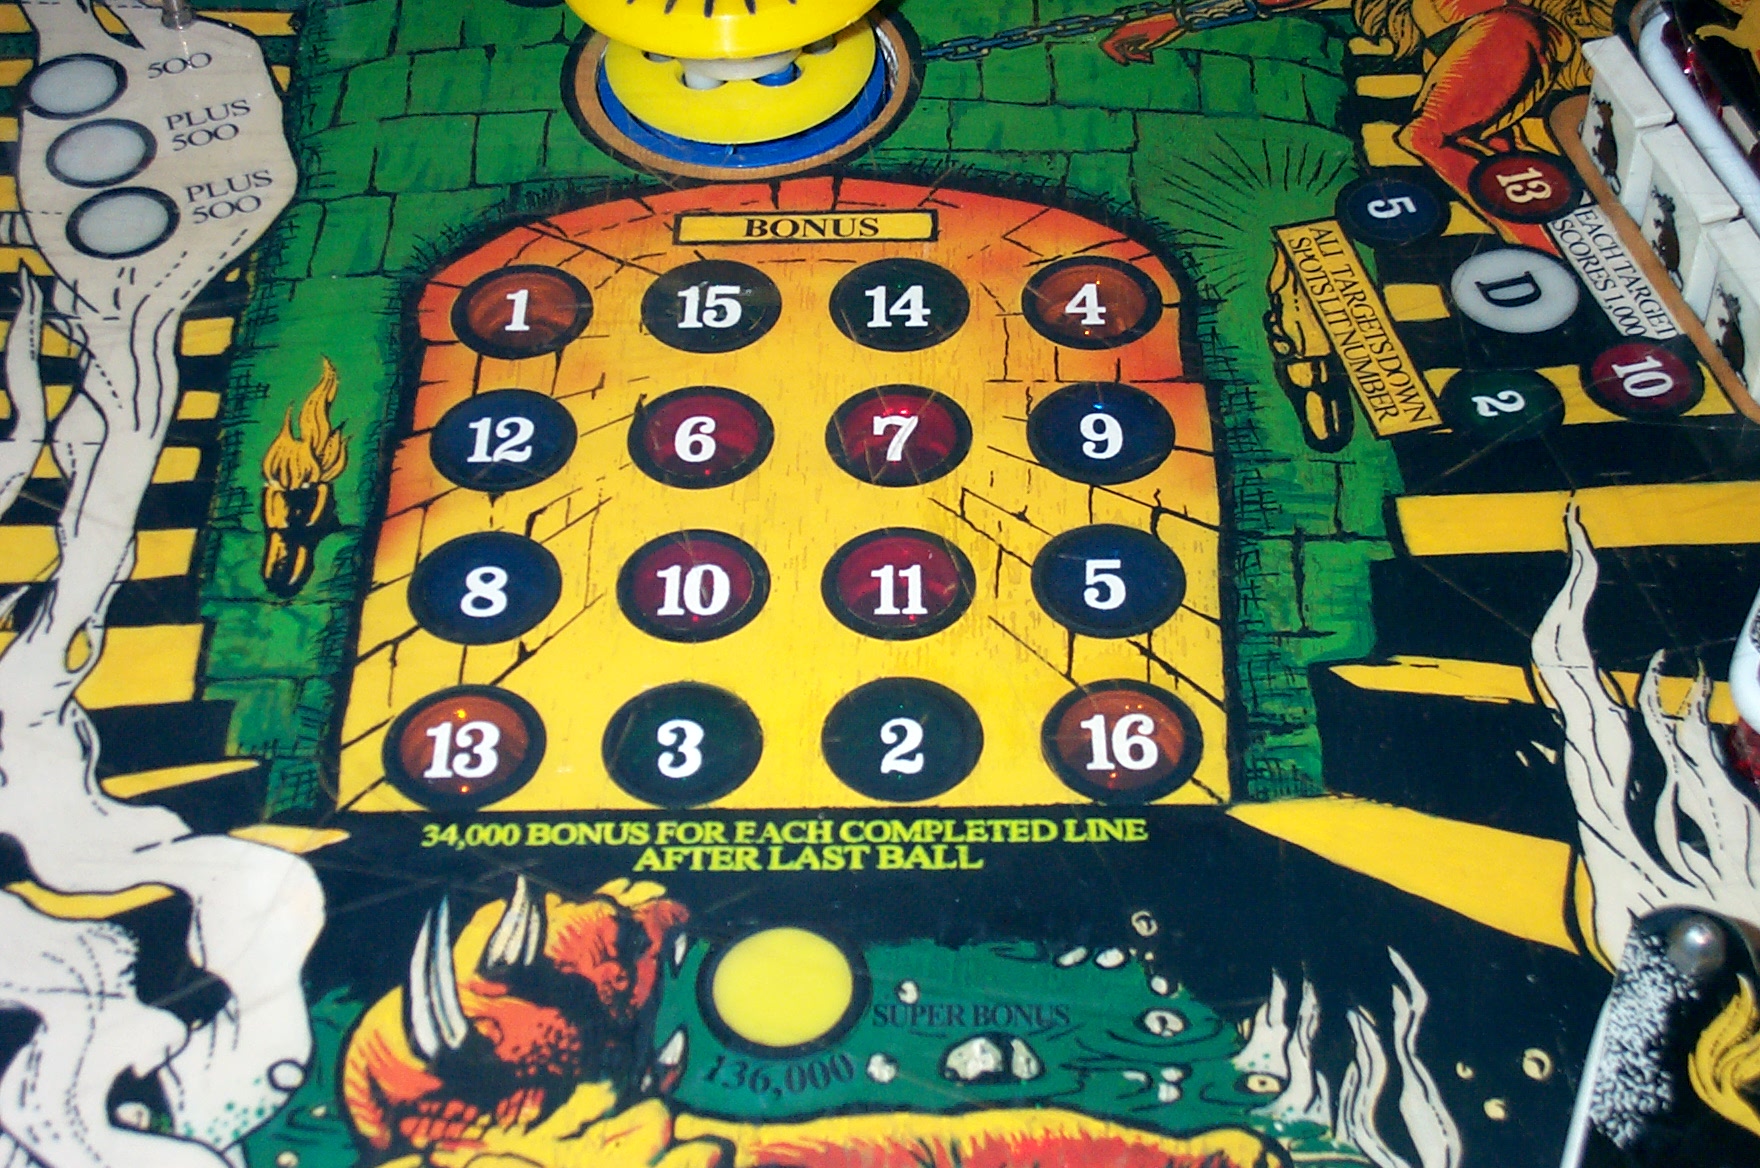
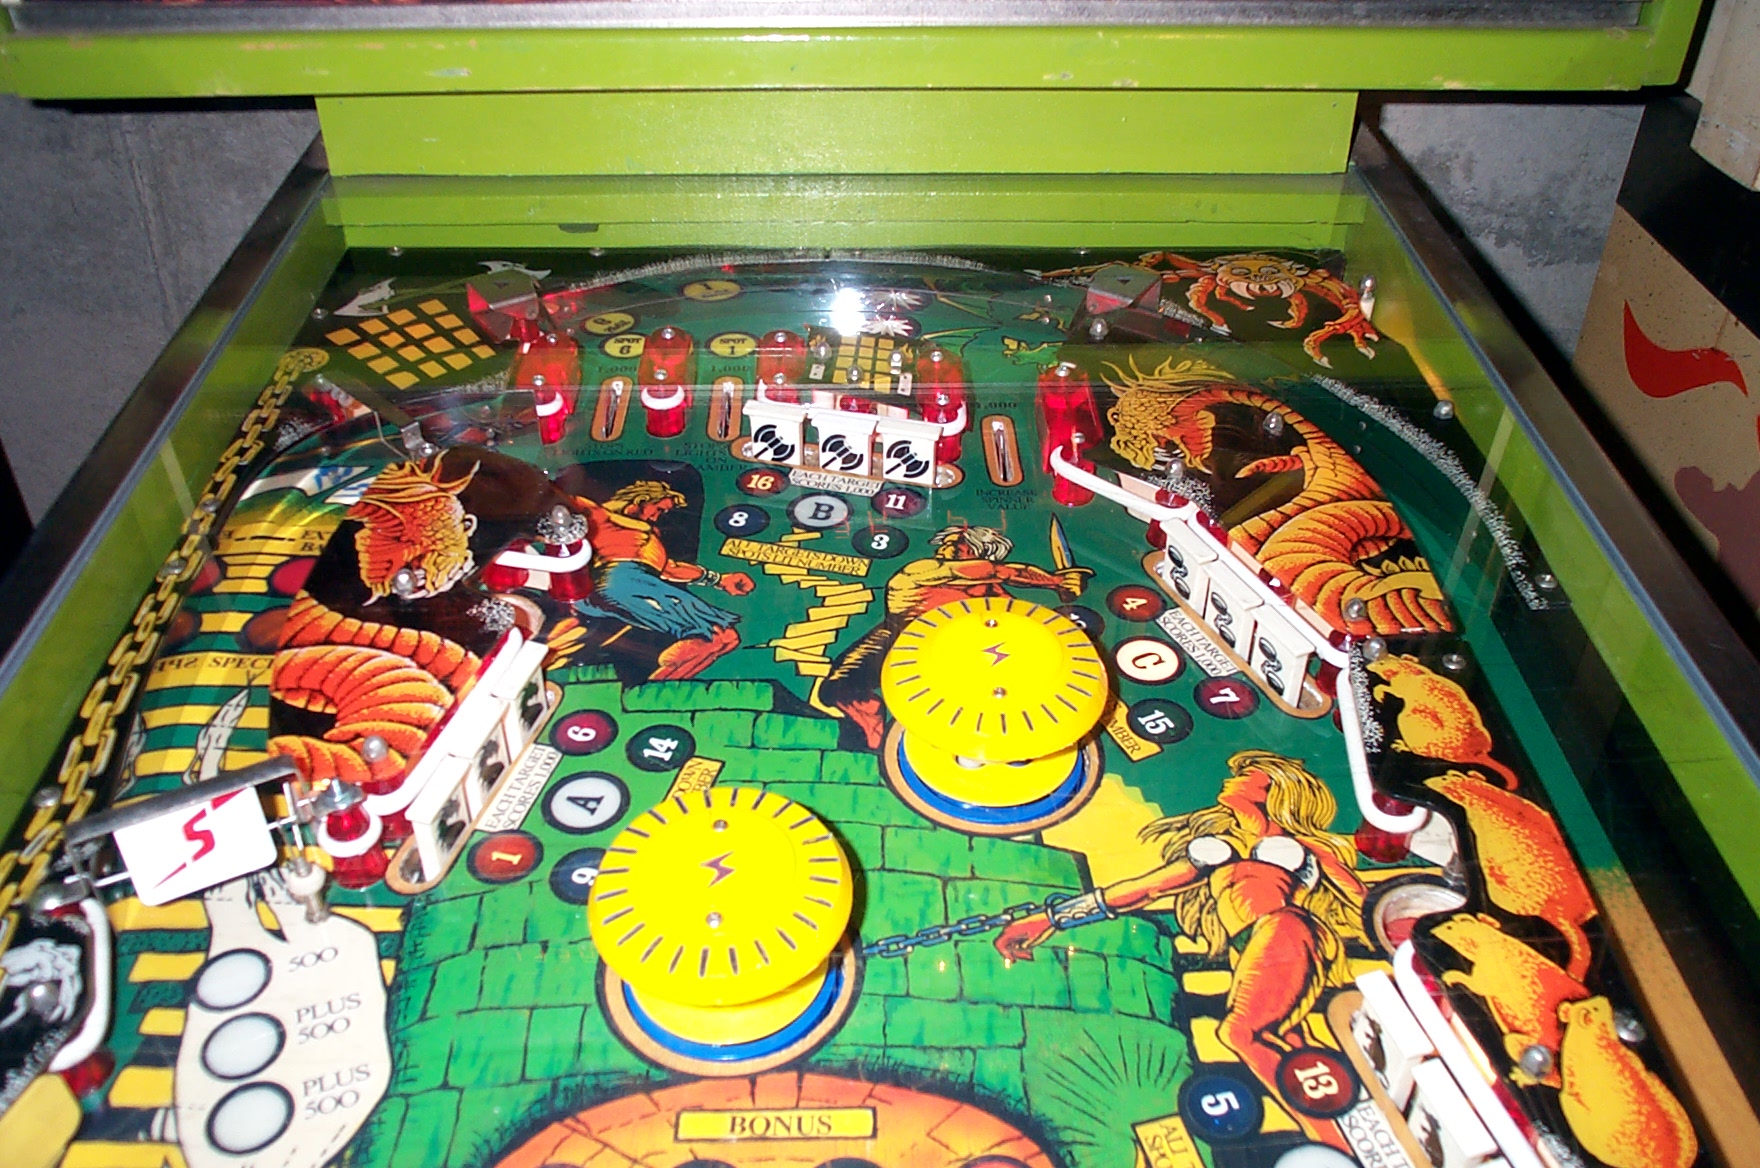
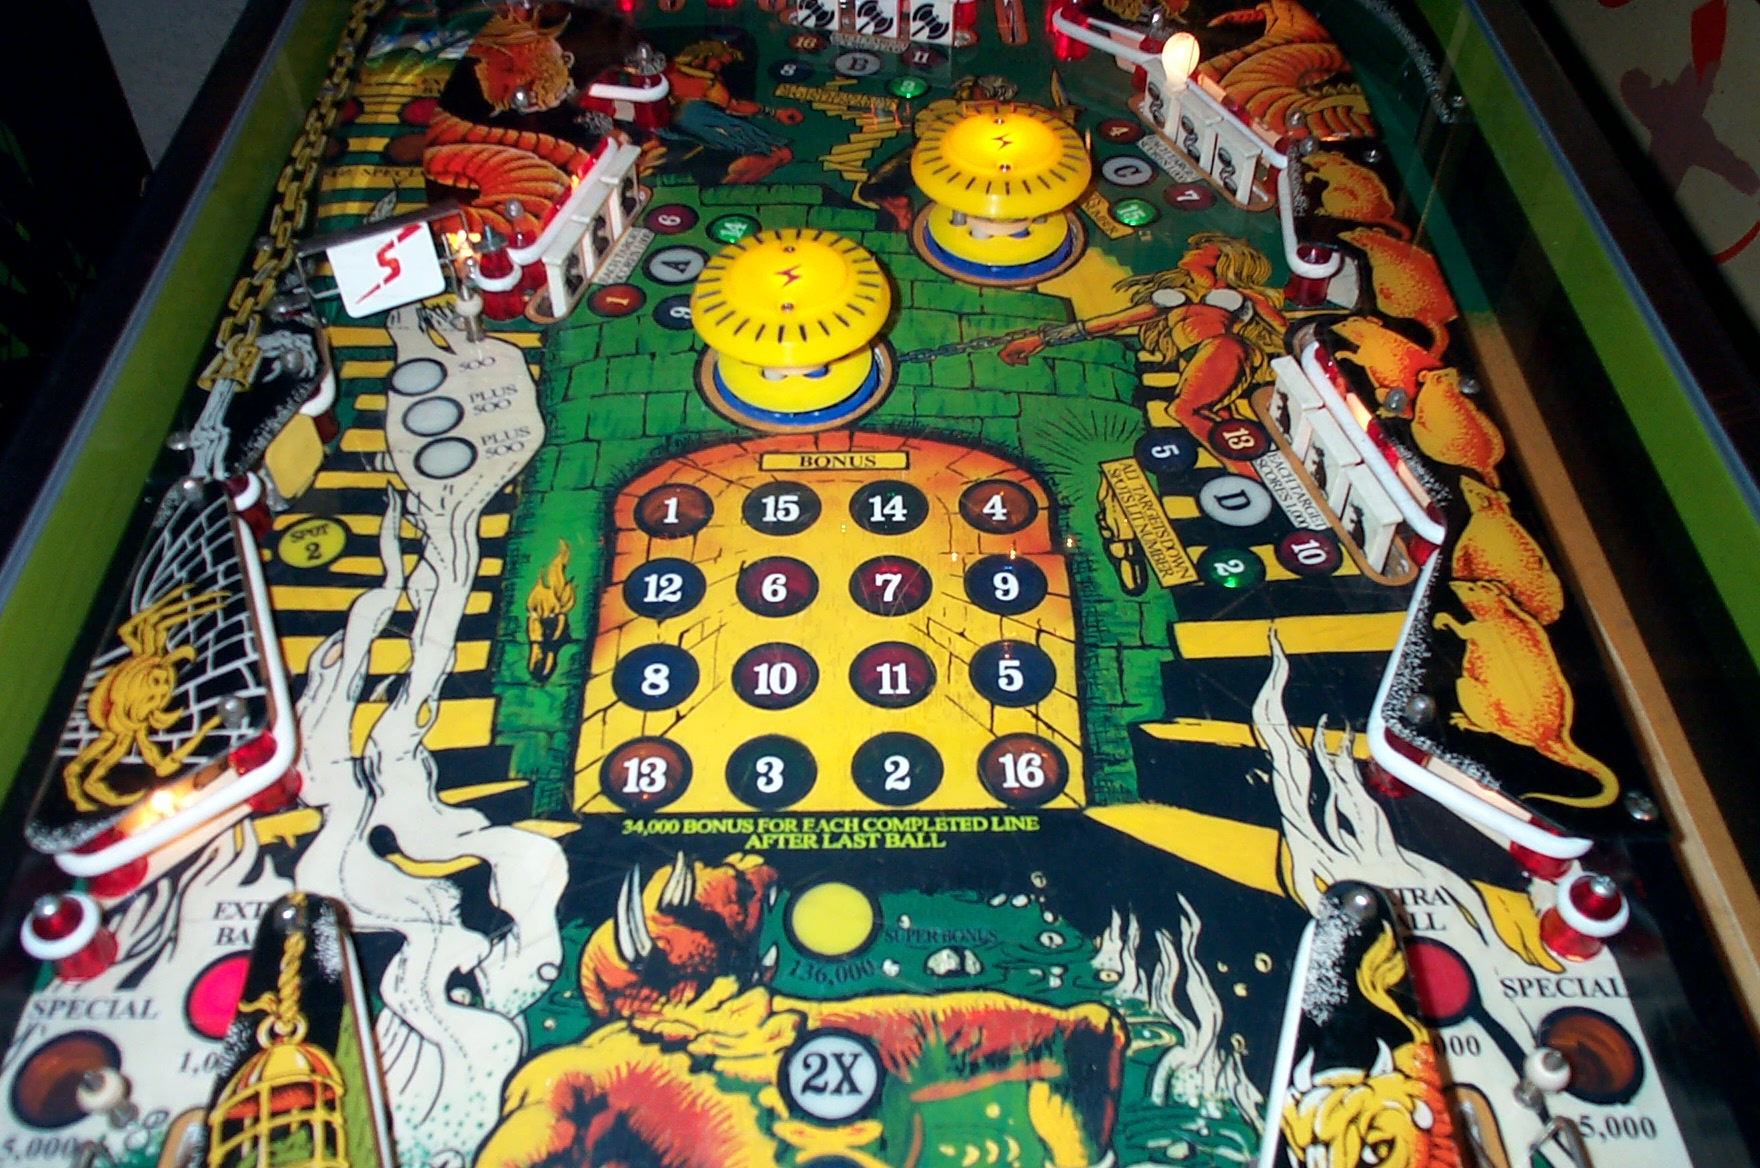
all inserts removed and placed back in and repainting done and text added.


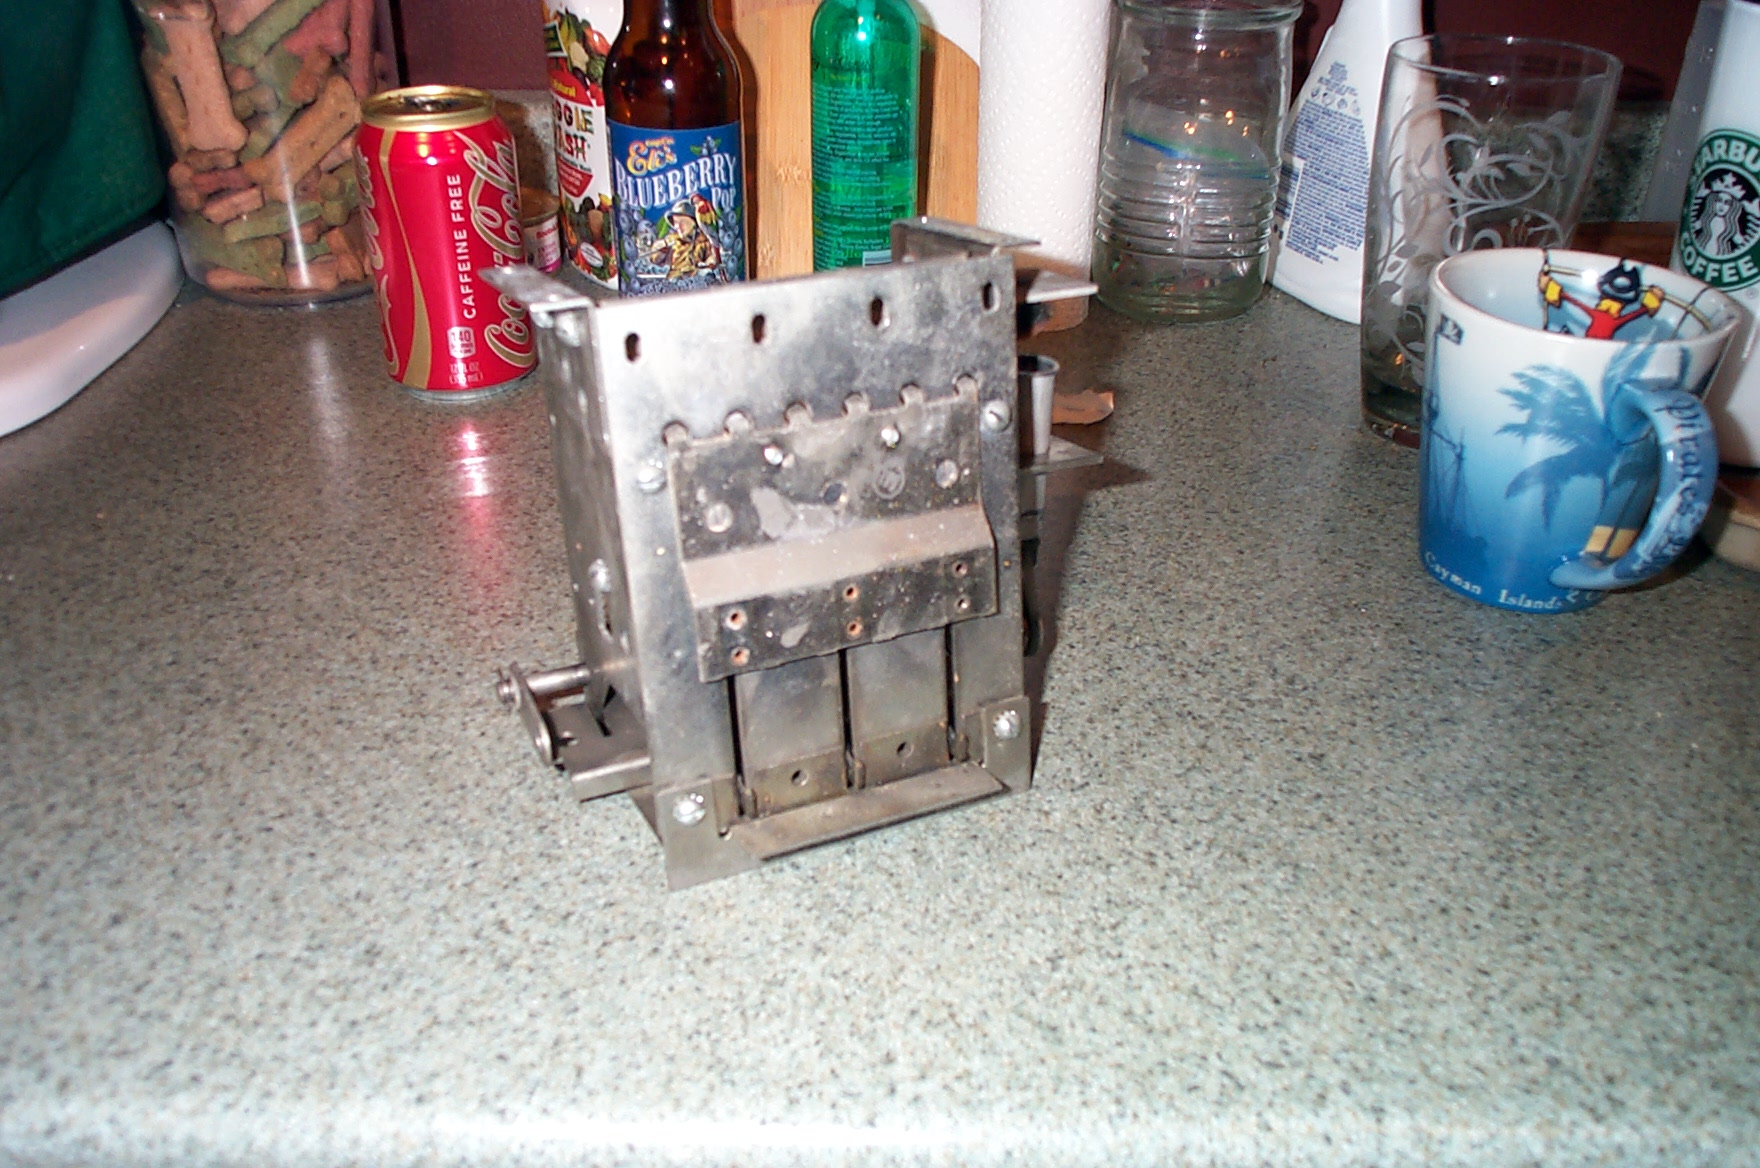
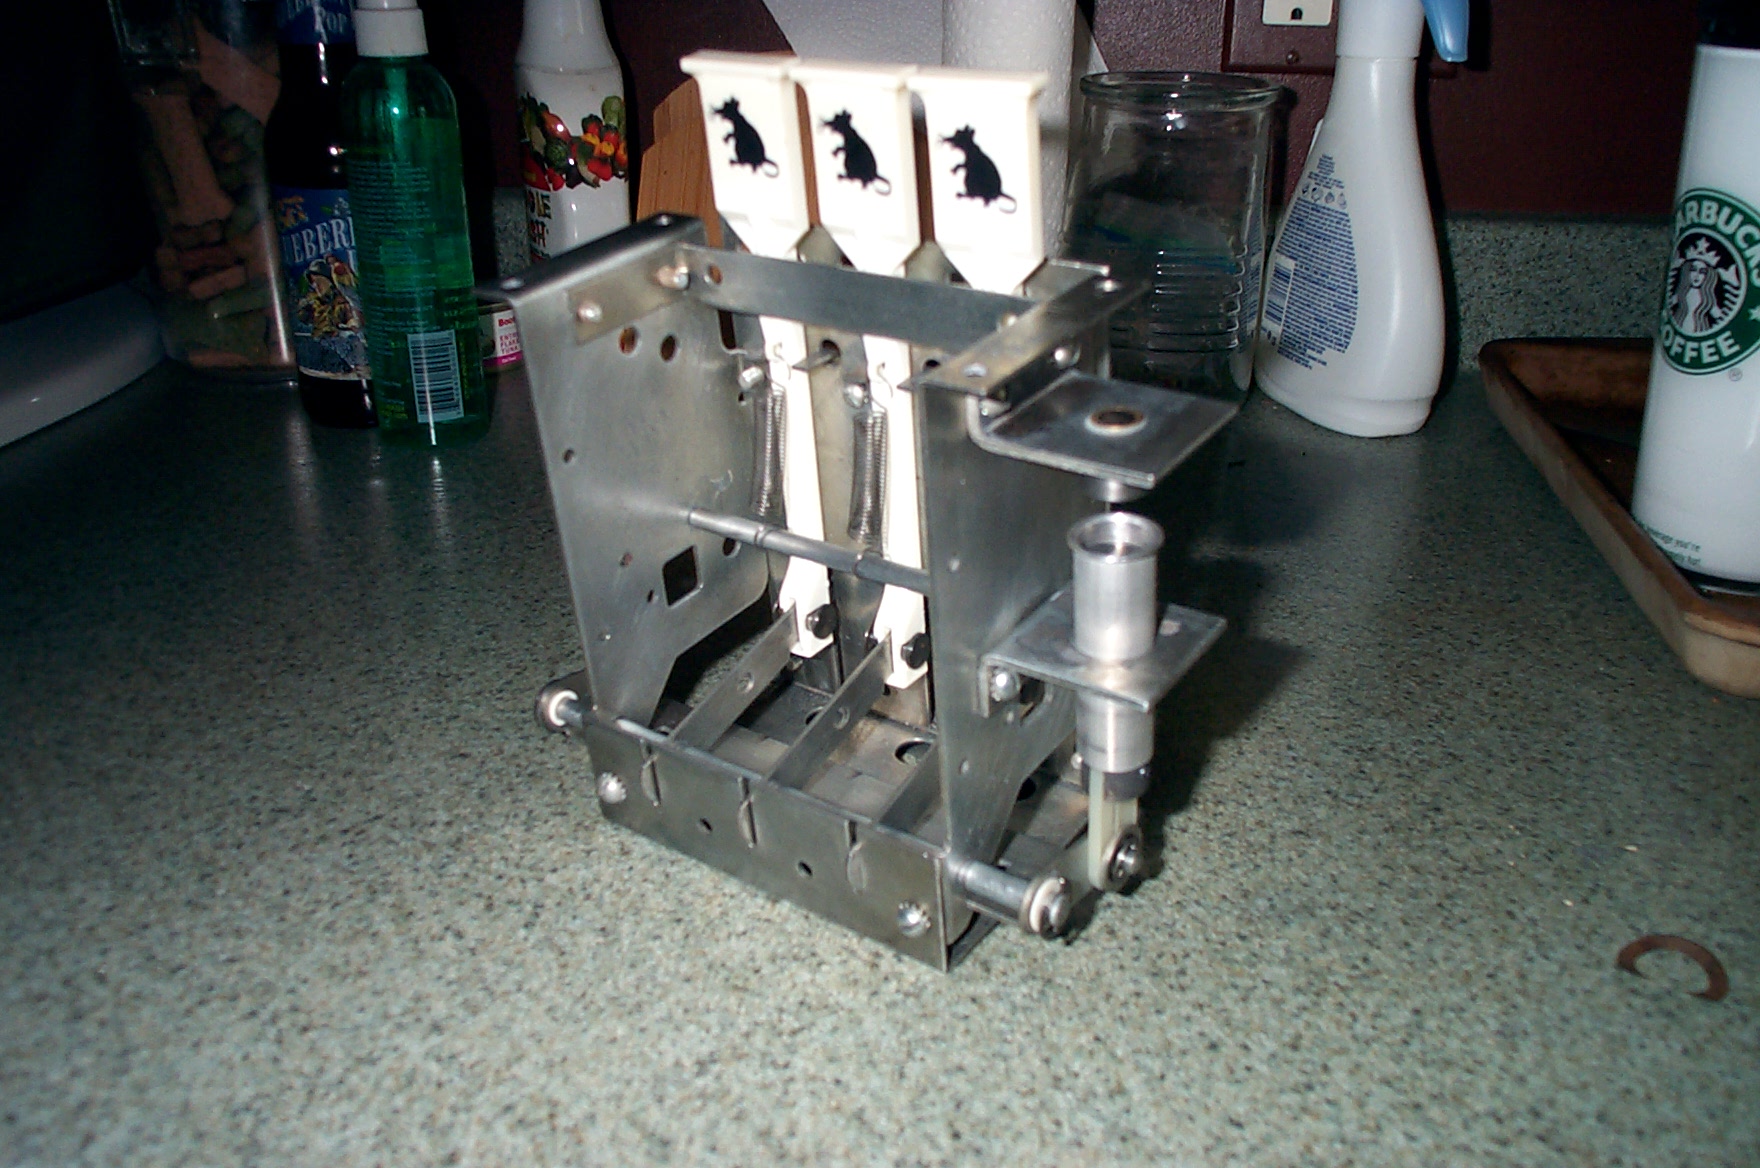
A quick look at a drop cage rebuild. (I know the picture shows the coil on the opposite side after assembly, had to swap it on one of the others as I was lazy and didn’t feel like redoing it on this one.)

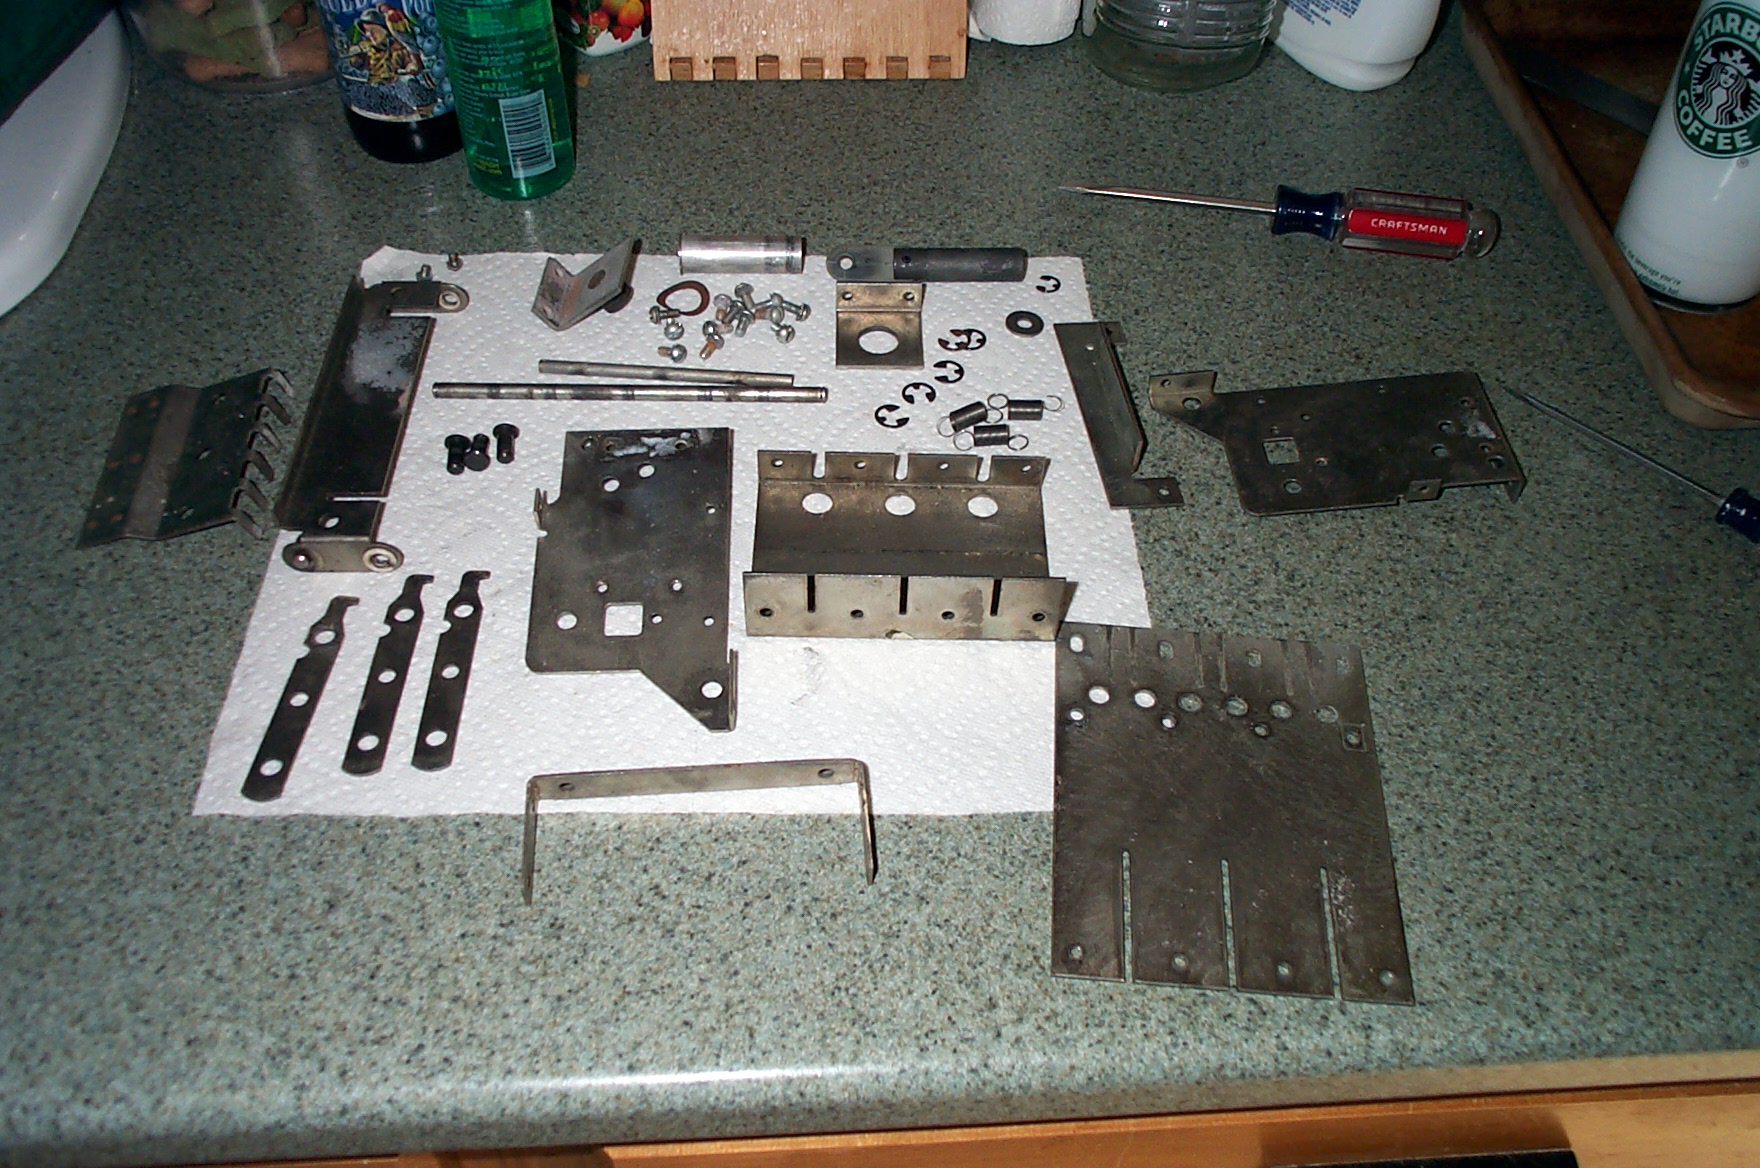

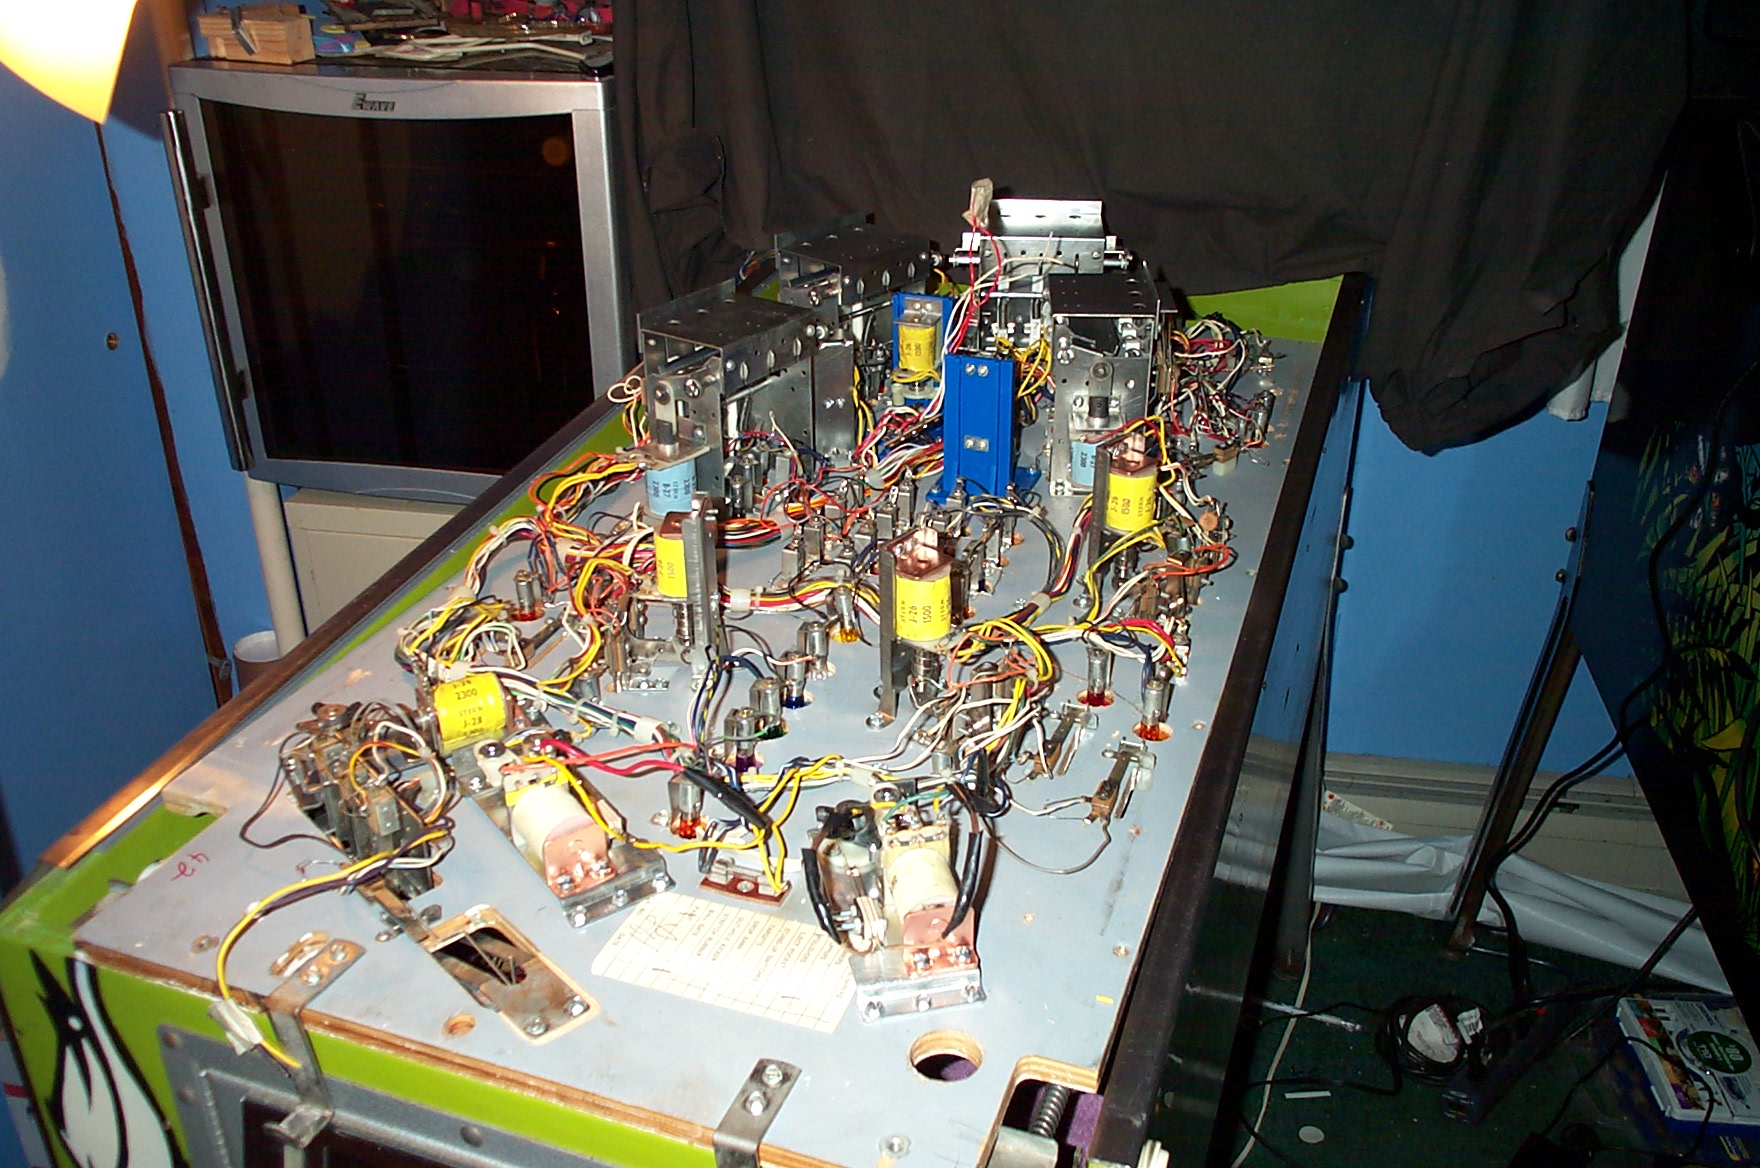
The start of the assembly process.
everything back together. still have two plastics to recreate, the Spider and the one at the top middle. But it took me awhile to redo this pin and I just wanted it back together and in playing shape. I’m sure you can understand that mentality.
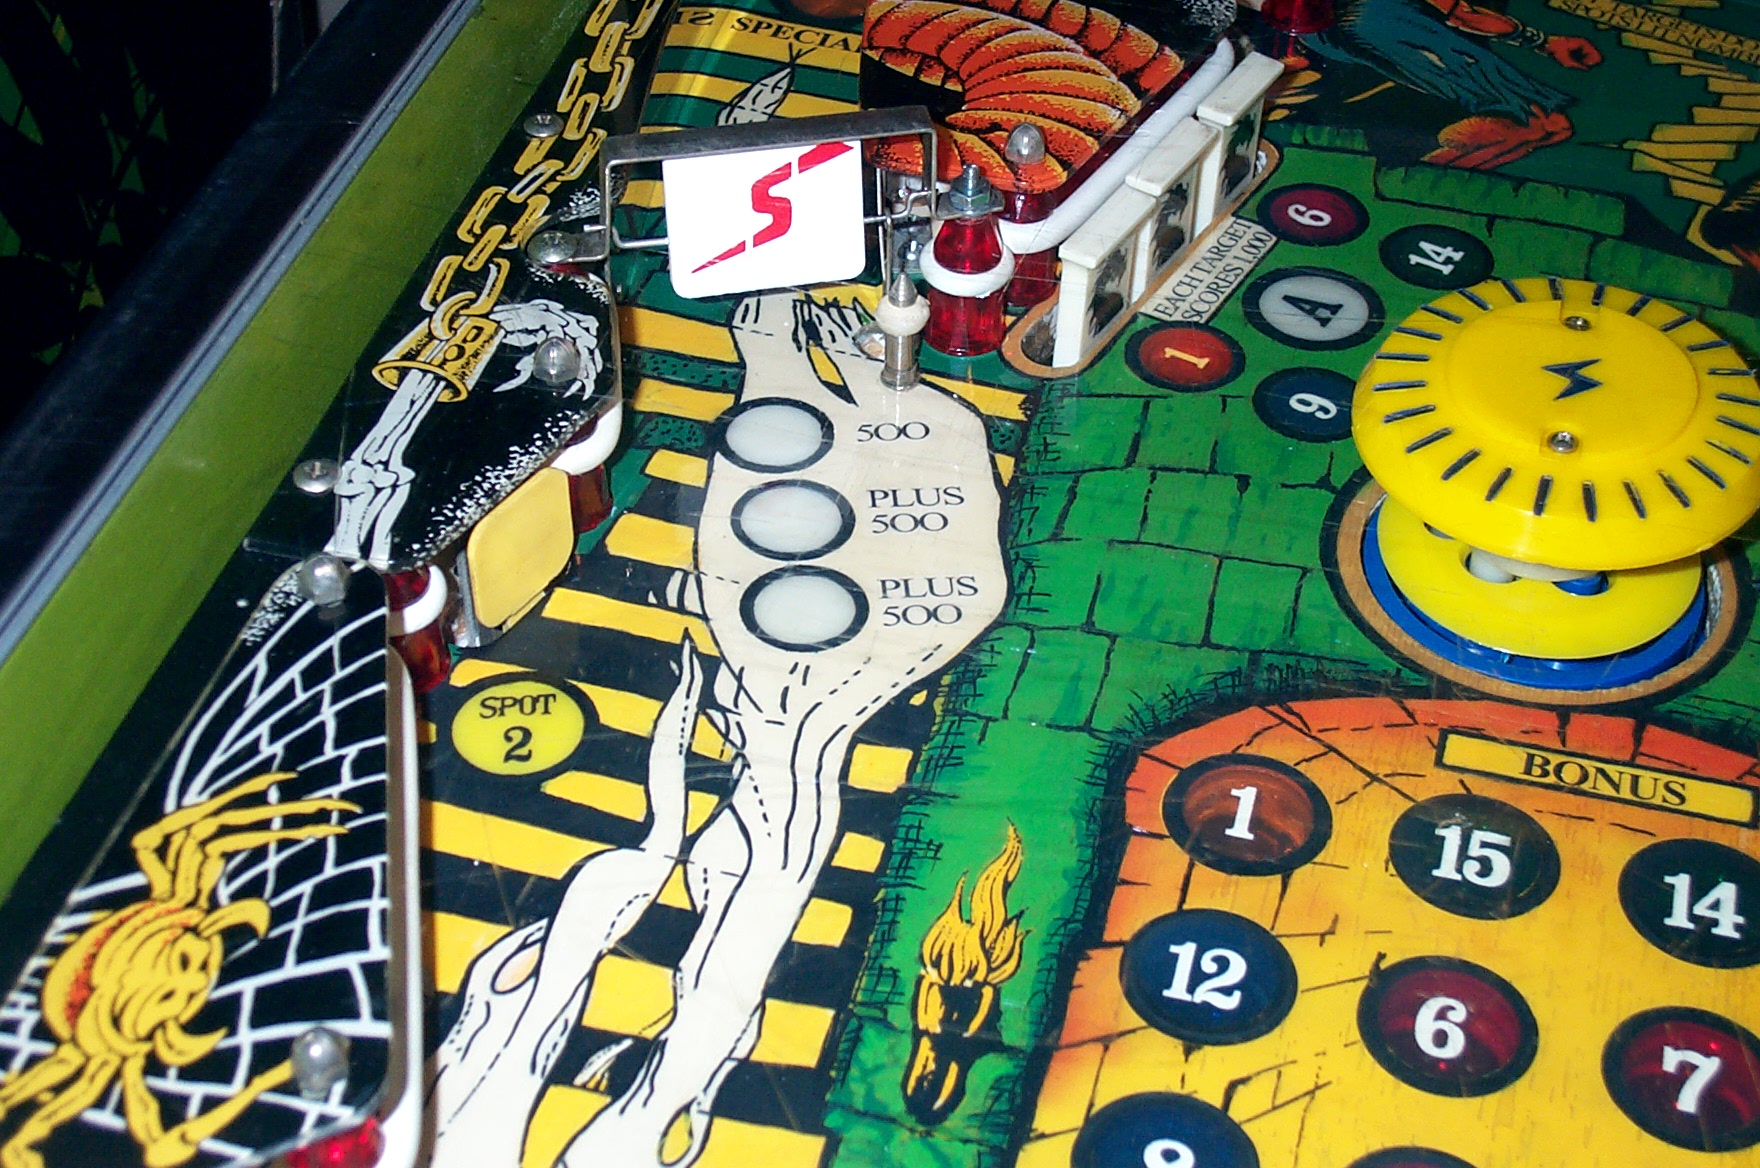
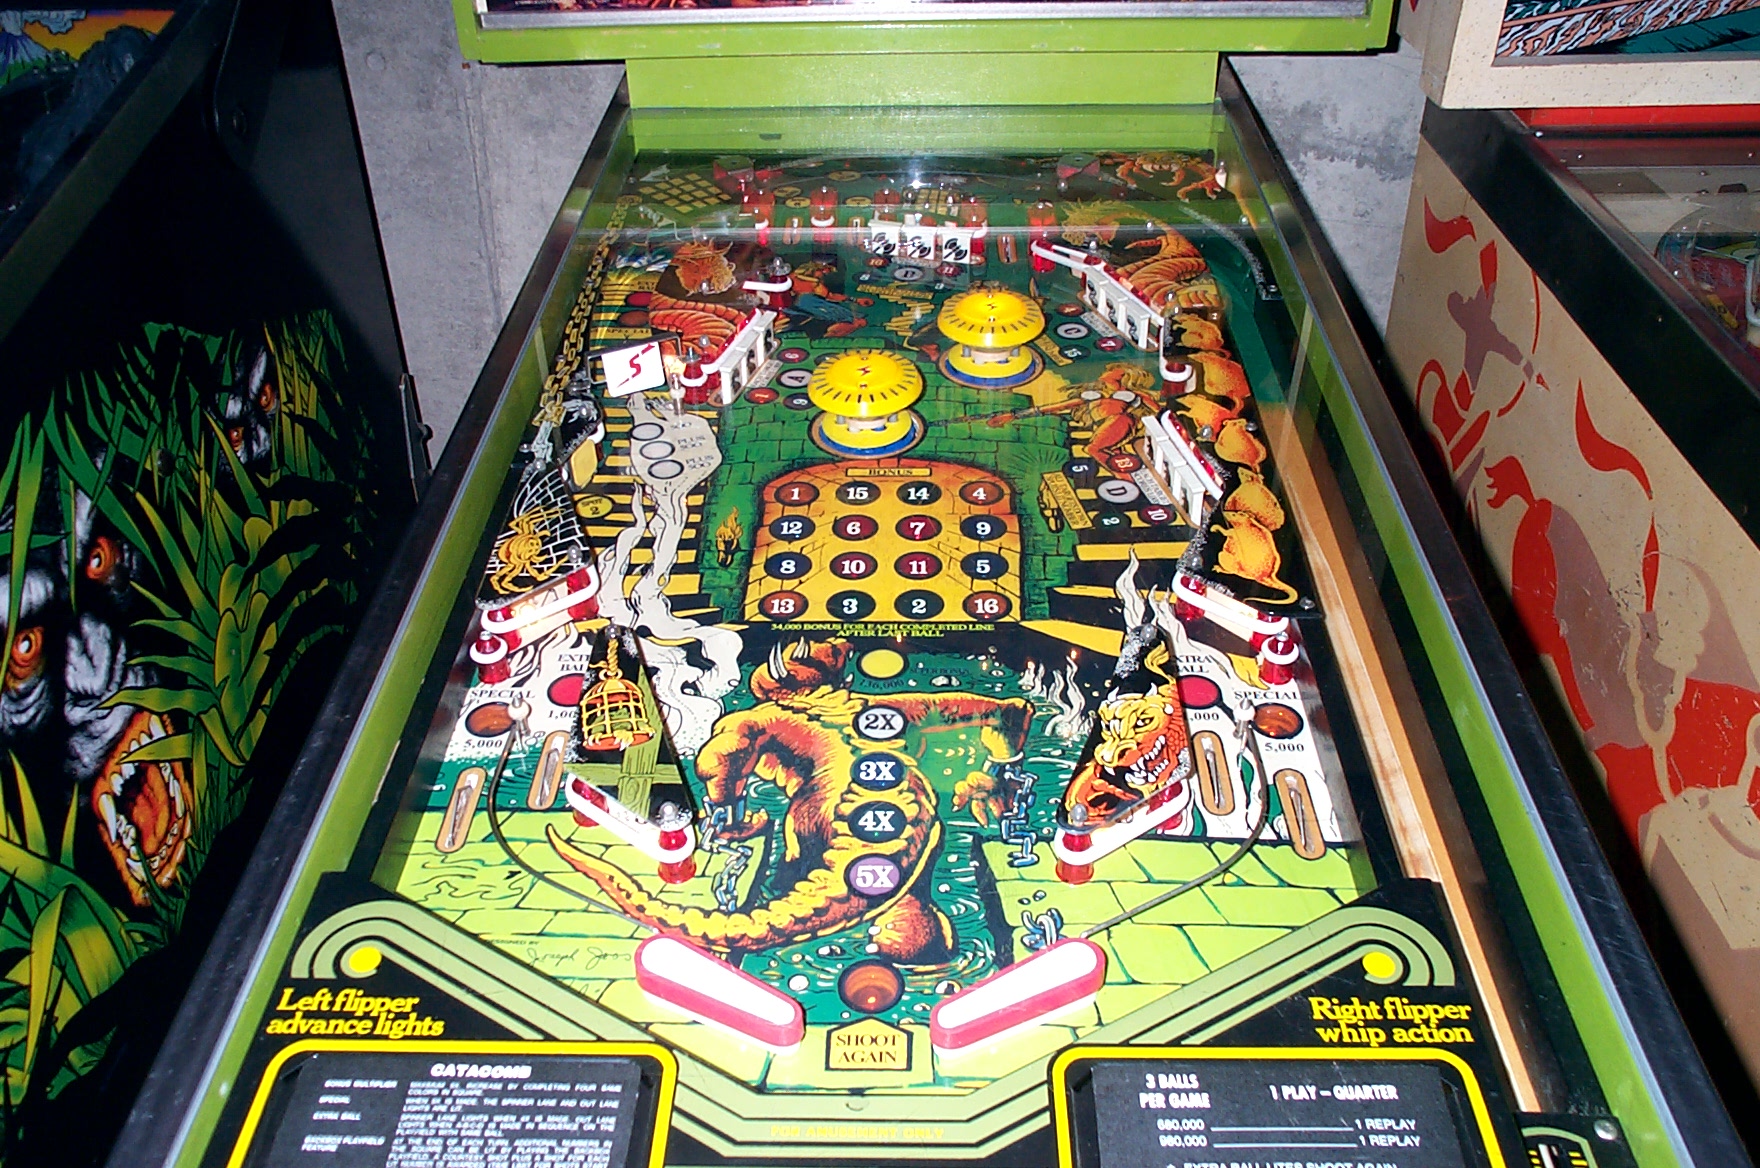
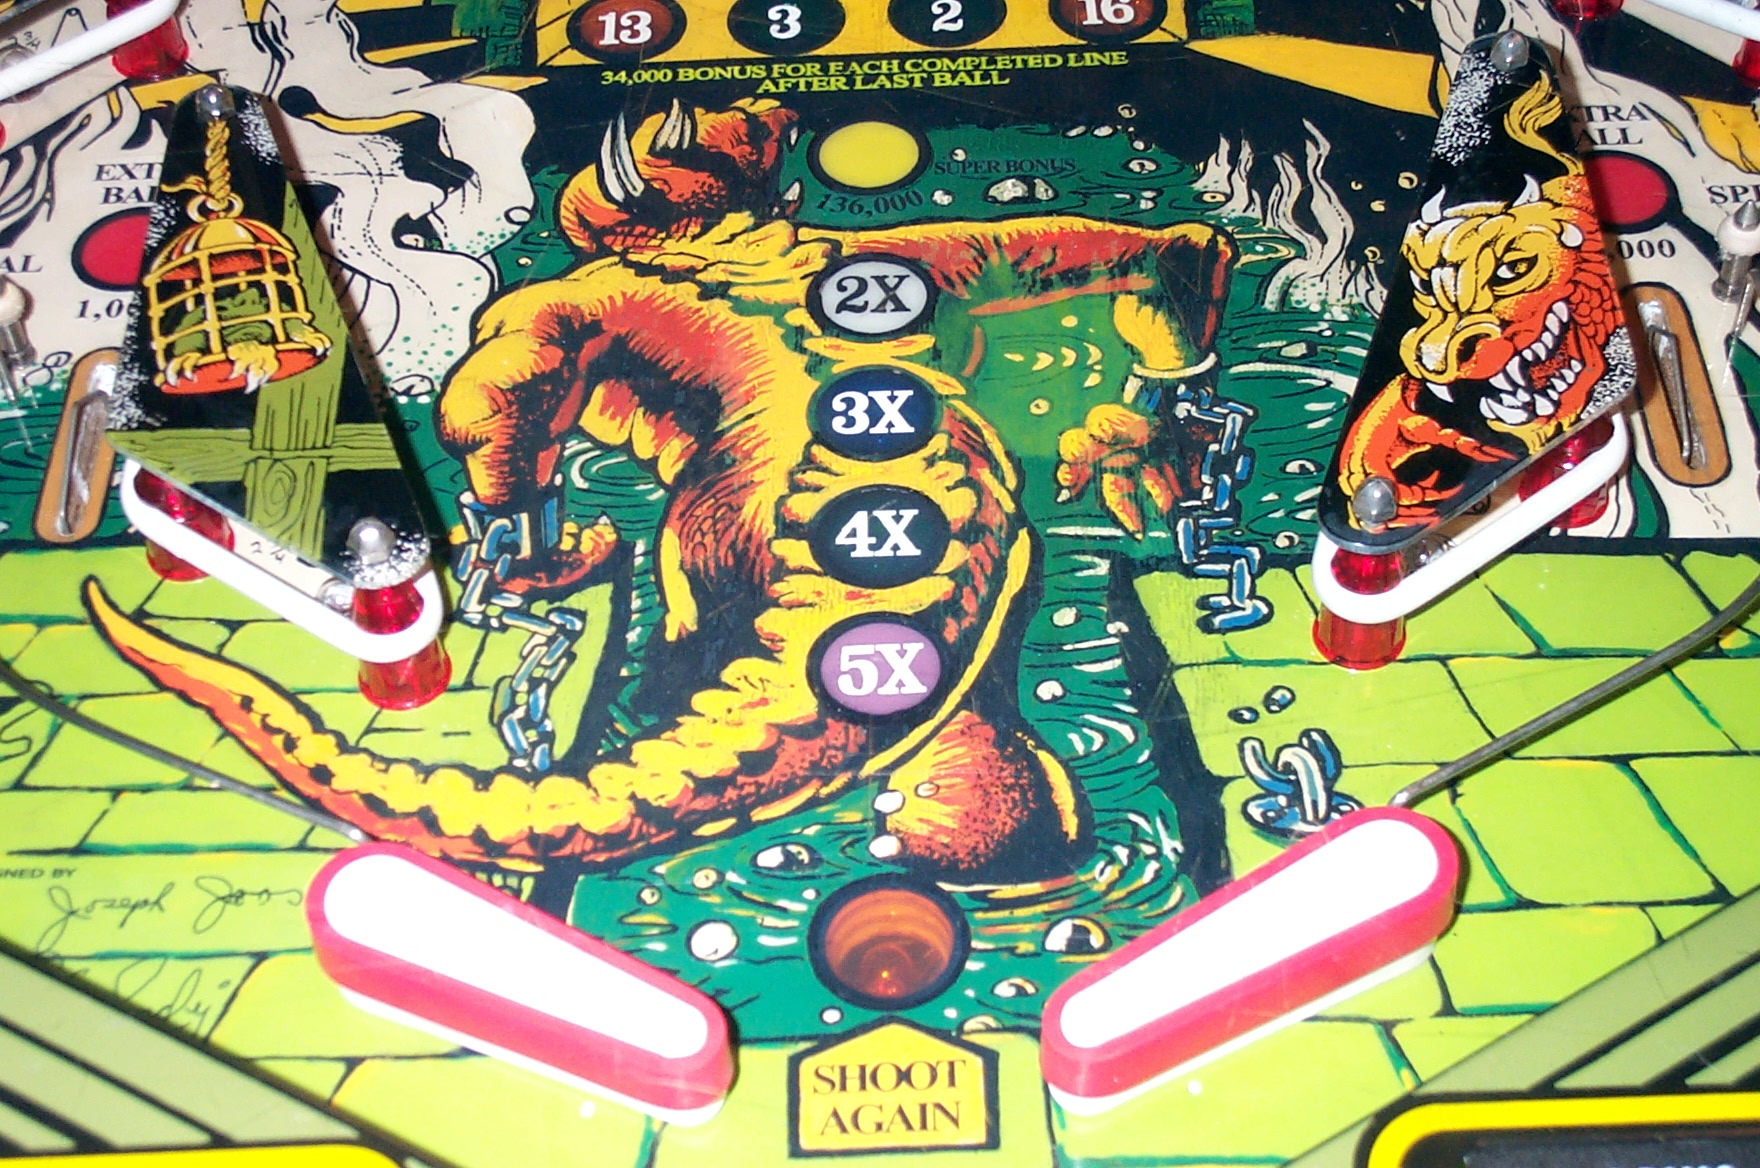
Only issue is in the middle of the dragon, the varathane didn’t either apply properly or never dried right. I had to put it in real thick to even everything out. I didn’t sand flat before painting, because I need the paint references and thought it would work out when clearing. Live and learn. Good thing is it was varathane so hopefully at some point I can redo it. part of the reason for choosing that instead of automotive clear. Was still pretty sad, it isn’t as bad in person, the picture really brings it out.
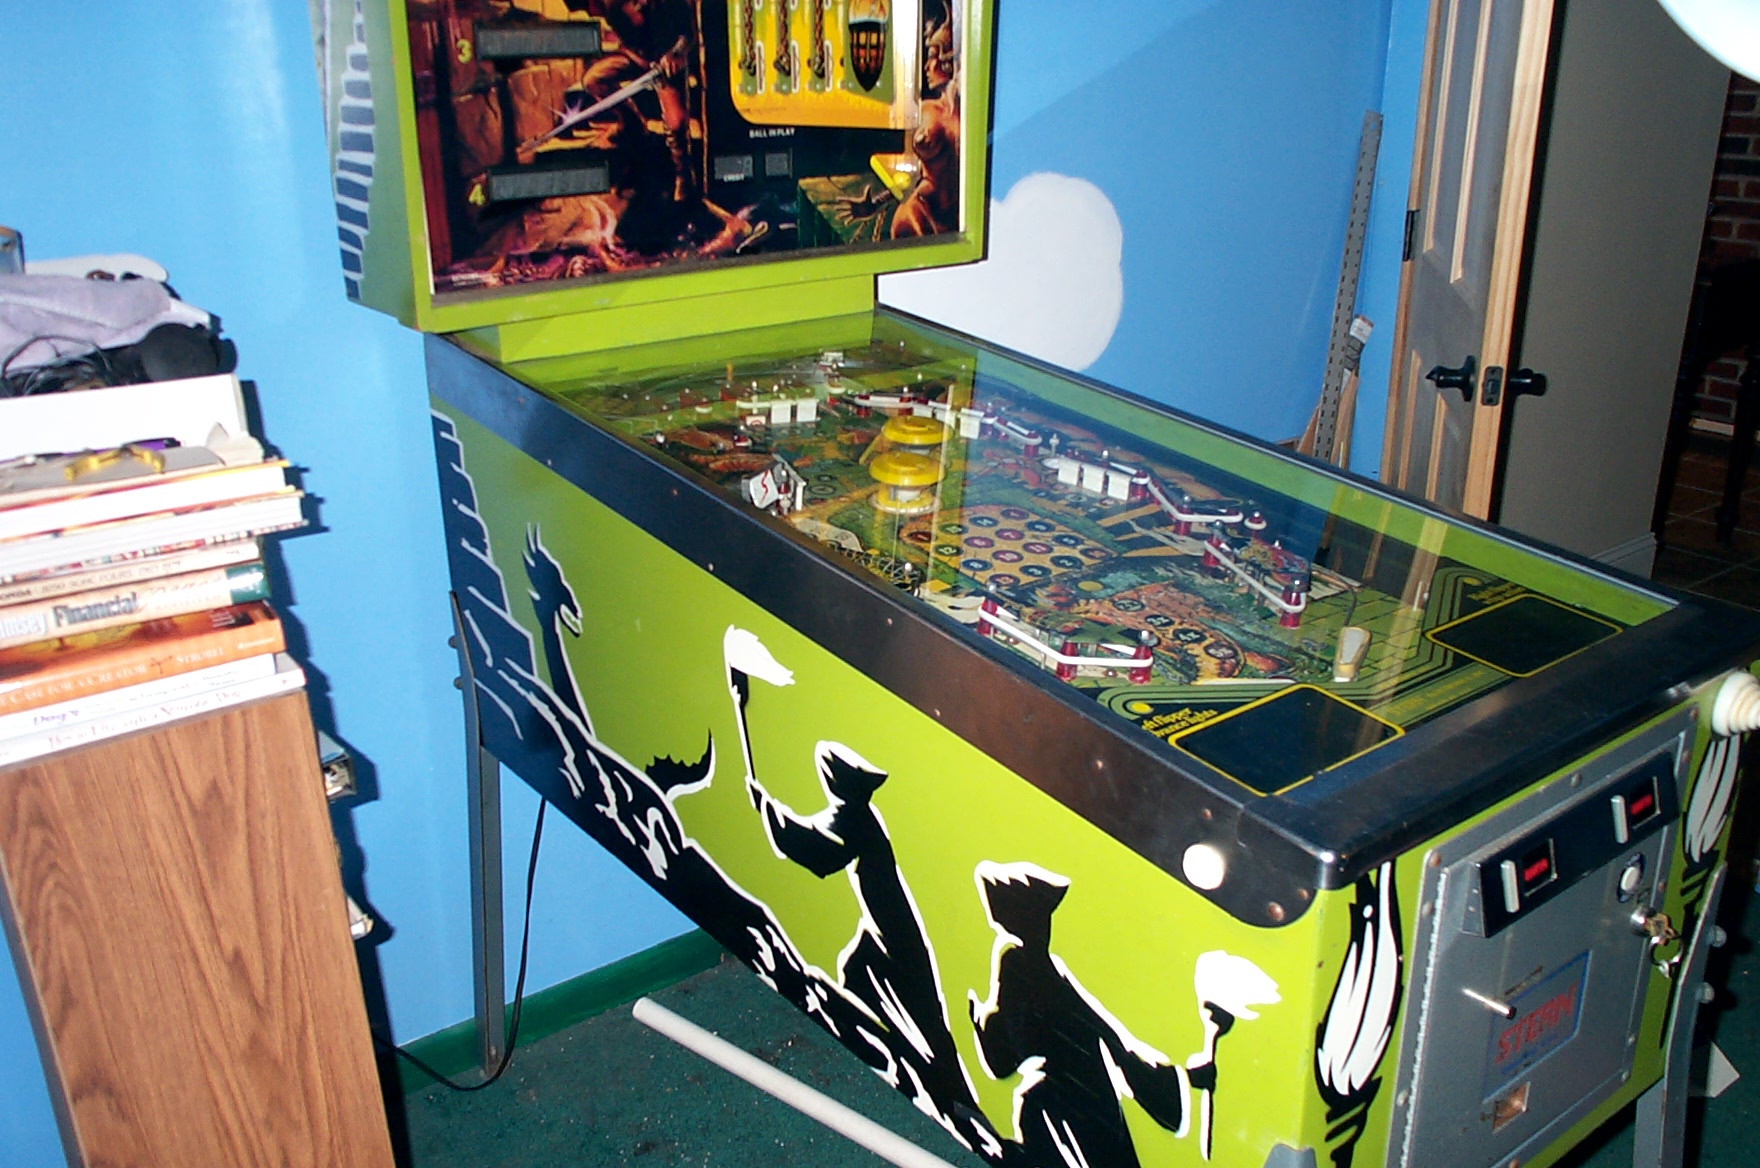
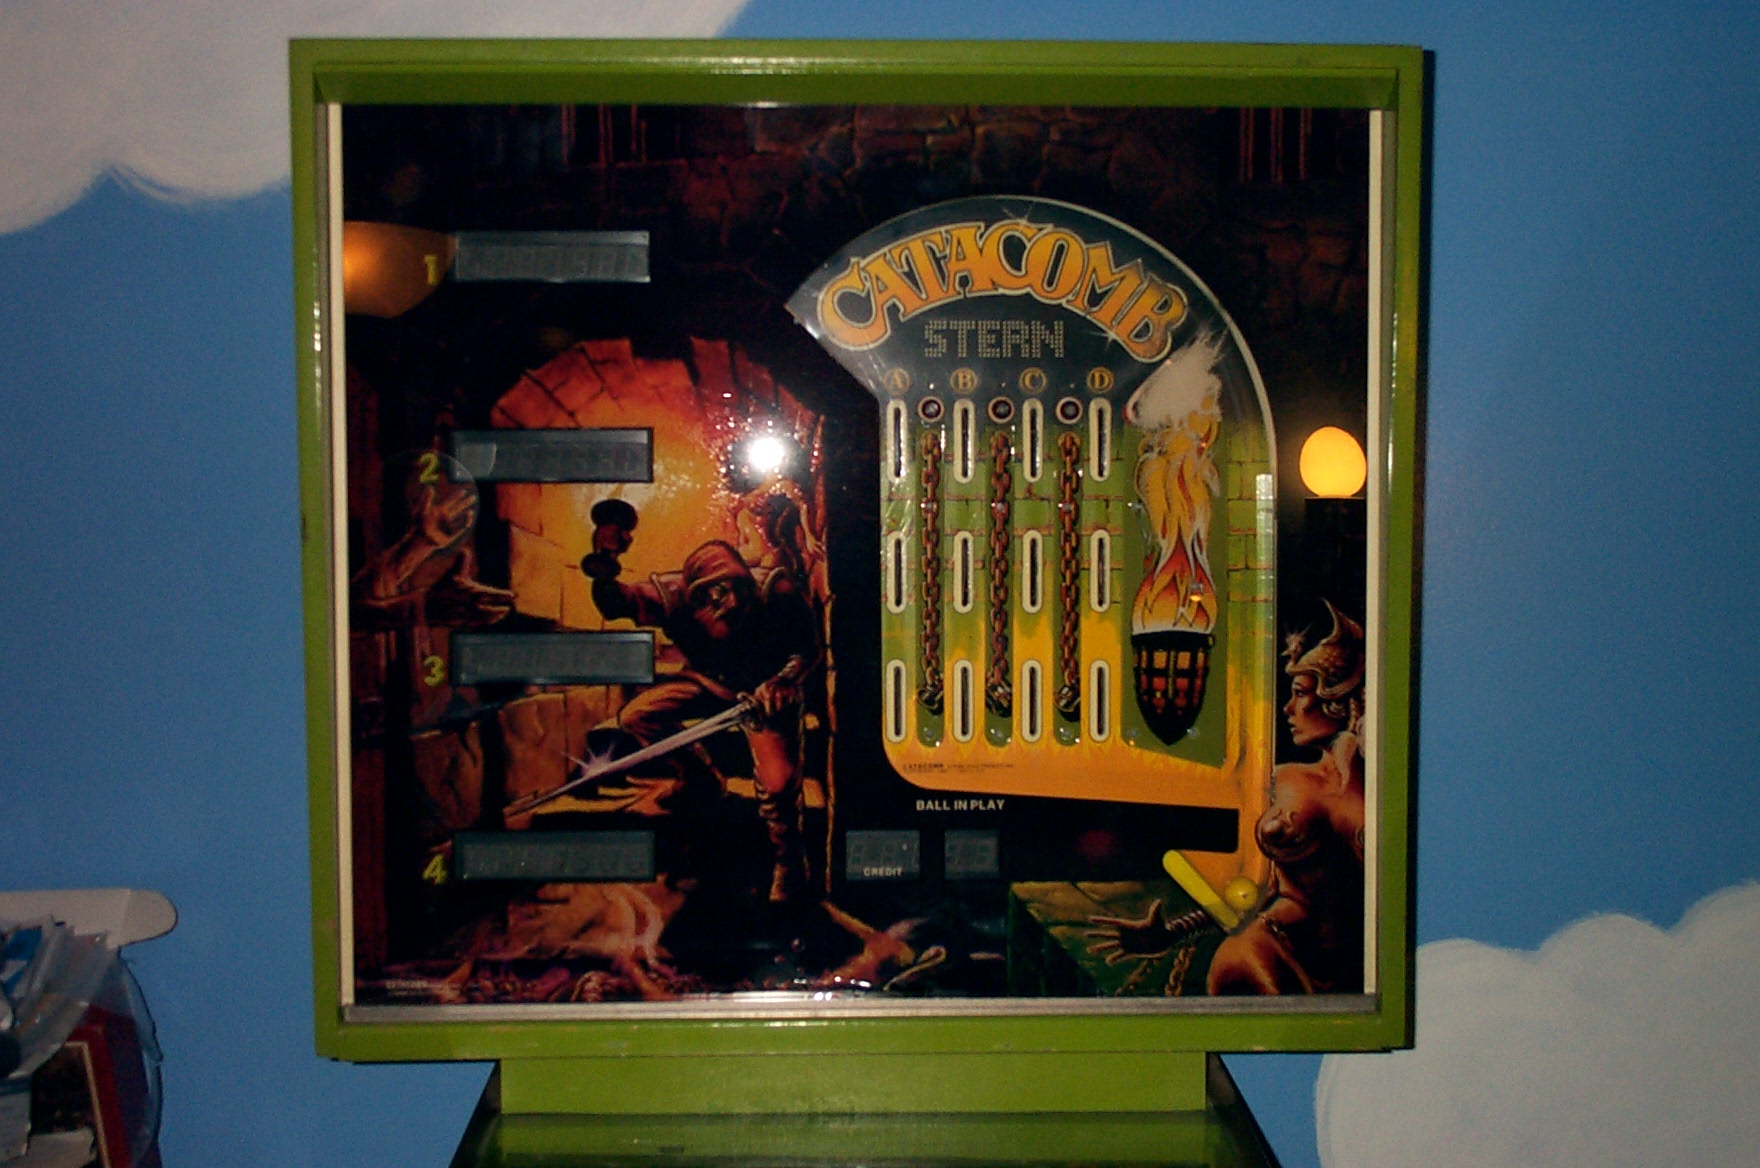
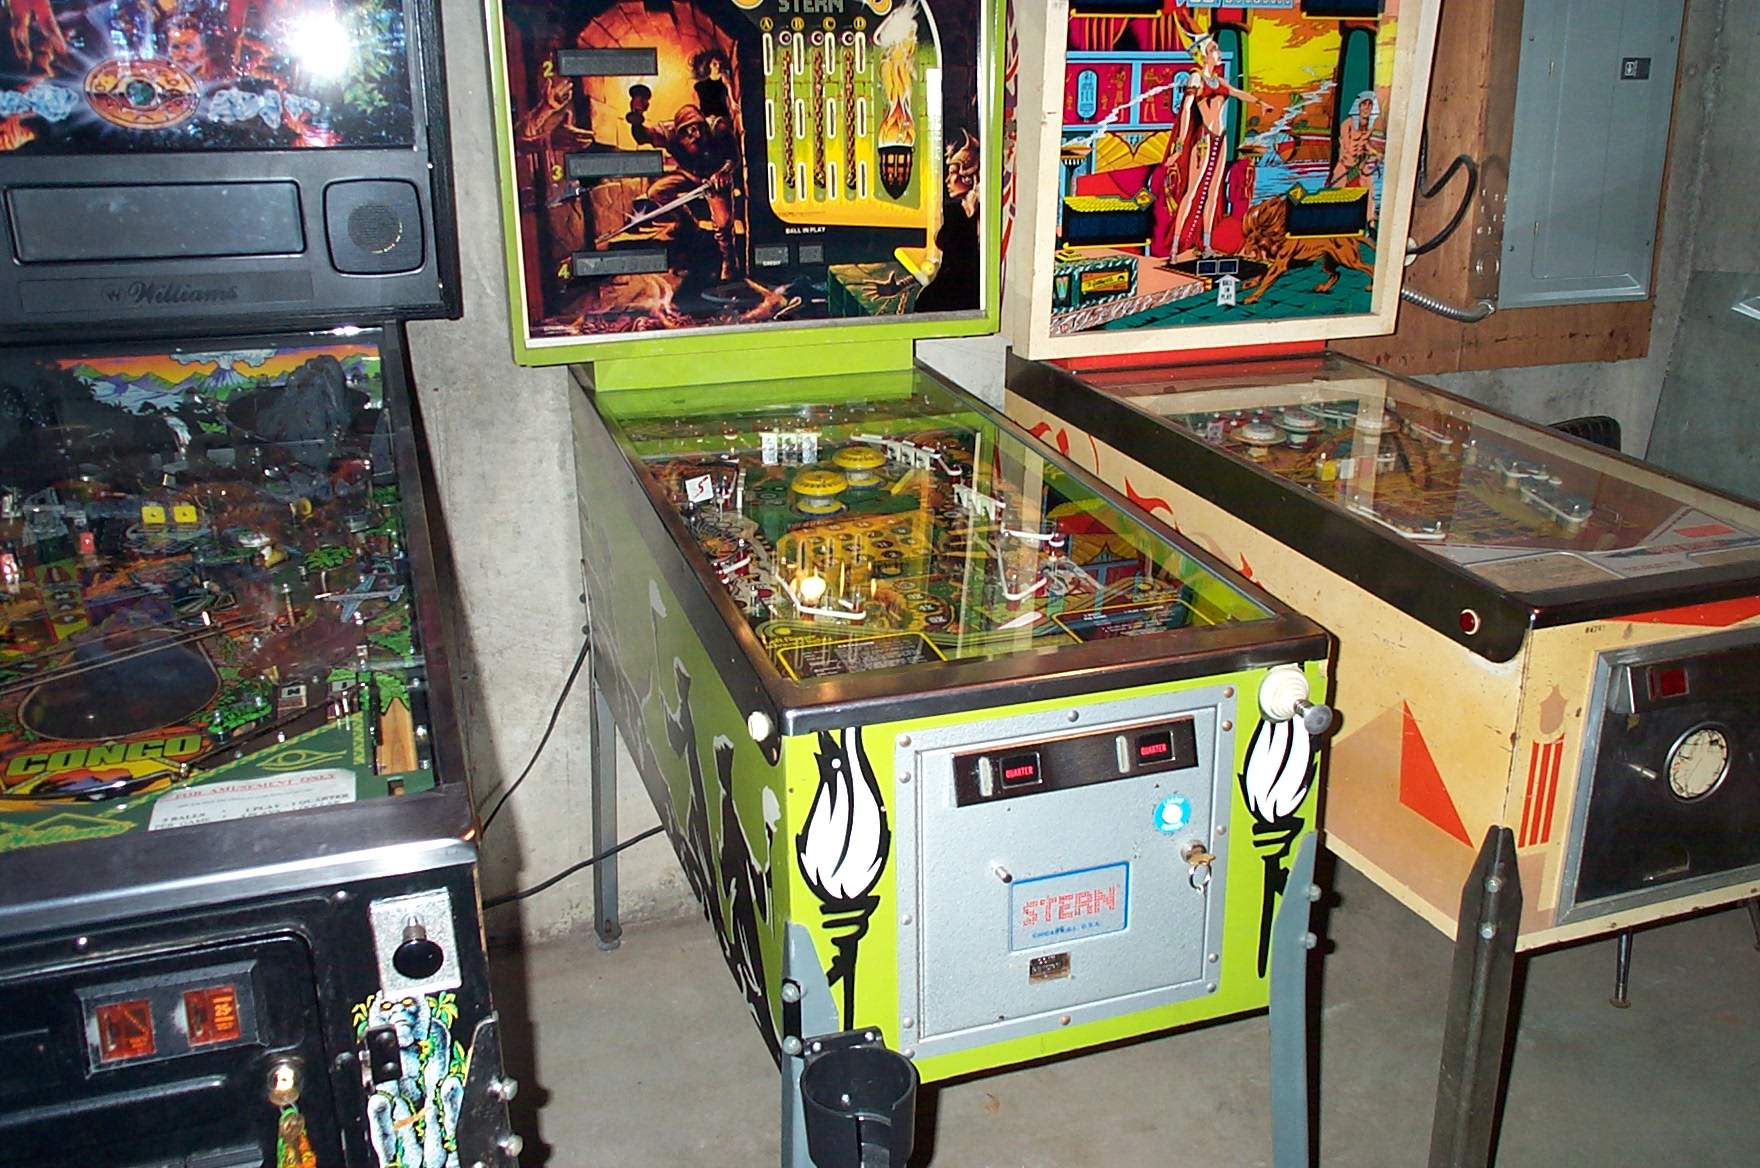
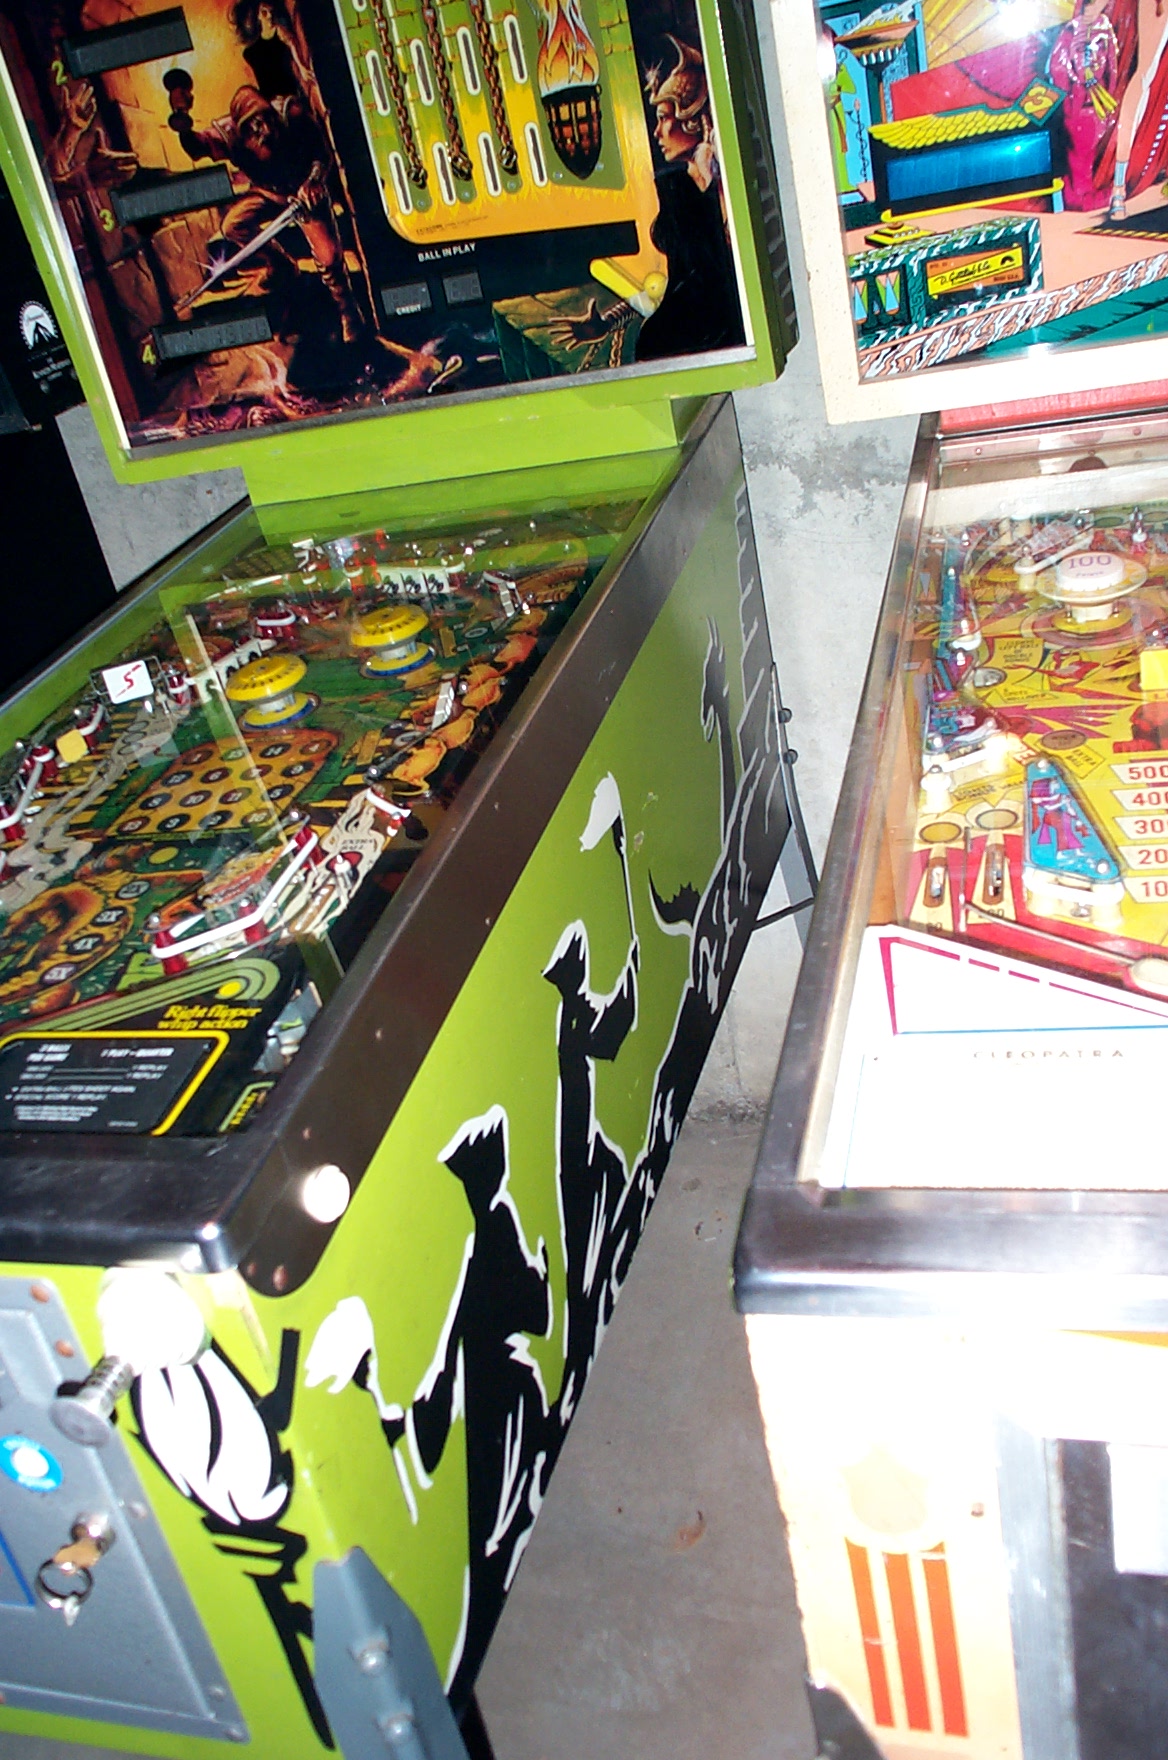
And now the cab. didn’t do much as it turned to winter and do not have a good place to repaint it. but it was in pretty good shape so I can live with it for now. I had to cover the chicks due to the wife factor and an agreement between us so I can keep it. it is just the cling films, so can be removed if necessary.

Shot in the dark, blurry but you get the idea.

